This is a pretty fun project. I seen these new chips called the esp32 came out and they are basically IOT system on a chip wifi bluetooth etc... at a very low cost. They are the successor to the esp8266, a very popular wifi chip. The difference being these new chips have a dual core processor, more memory, and a pretty nice clock speed. All in a tiny footprint. I thought wow, these are pretty great, I wonder what cool stuff can be made with them.
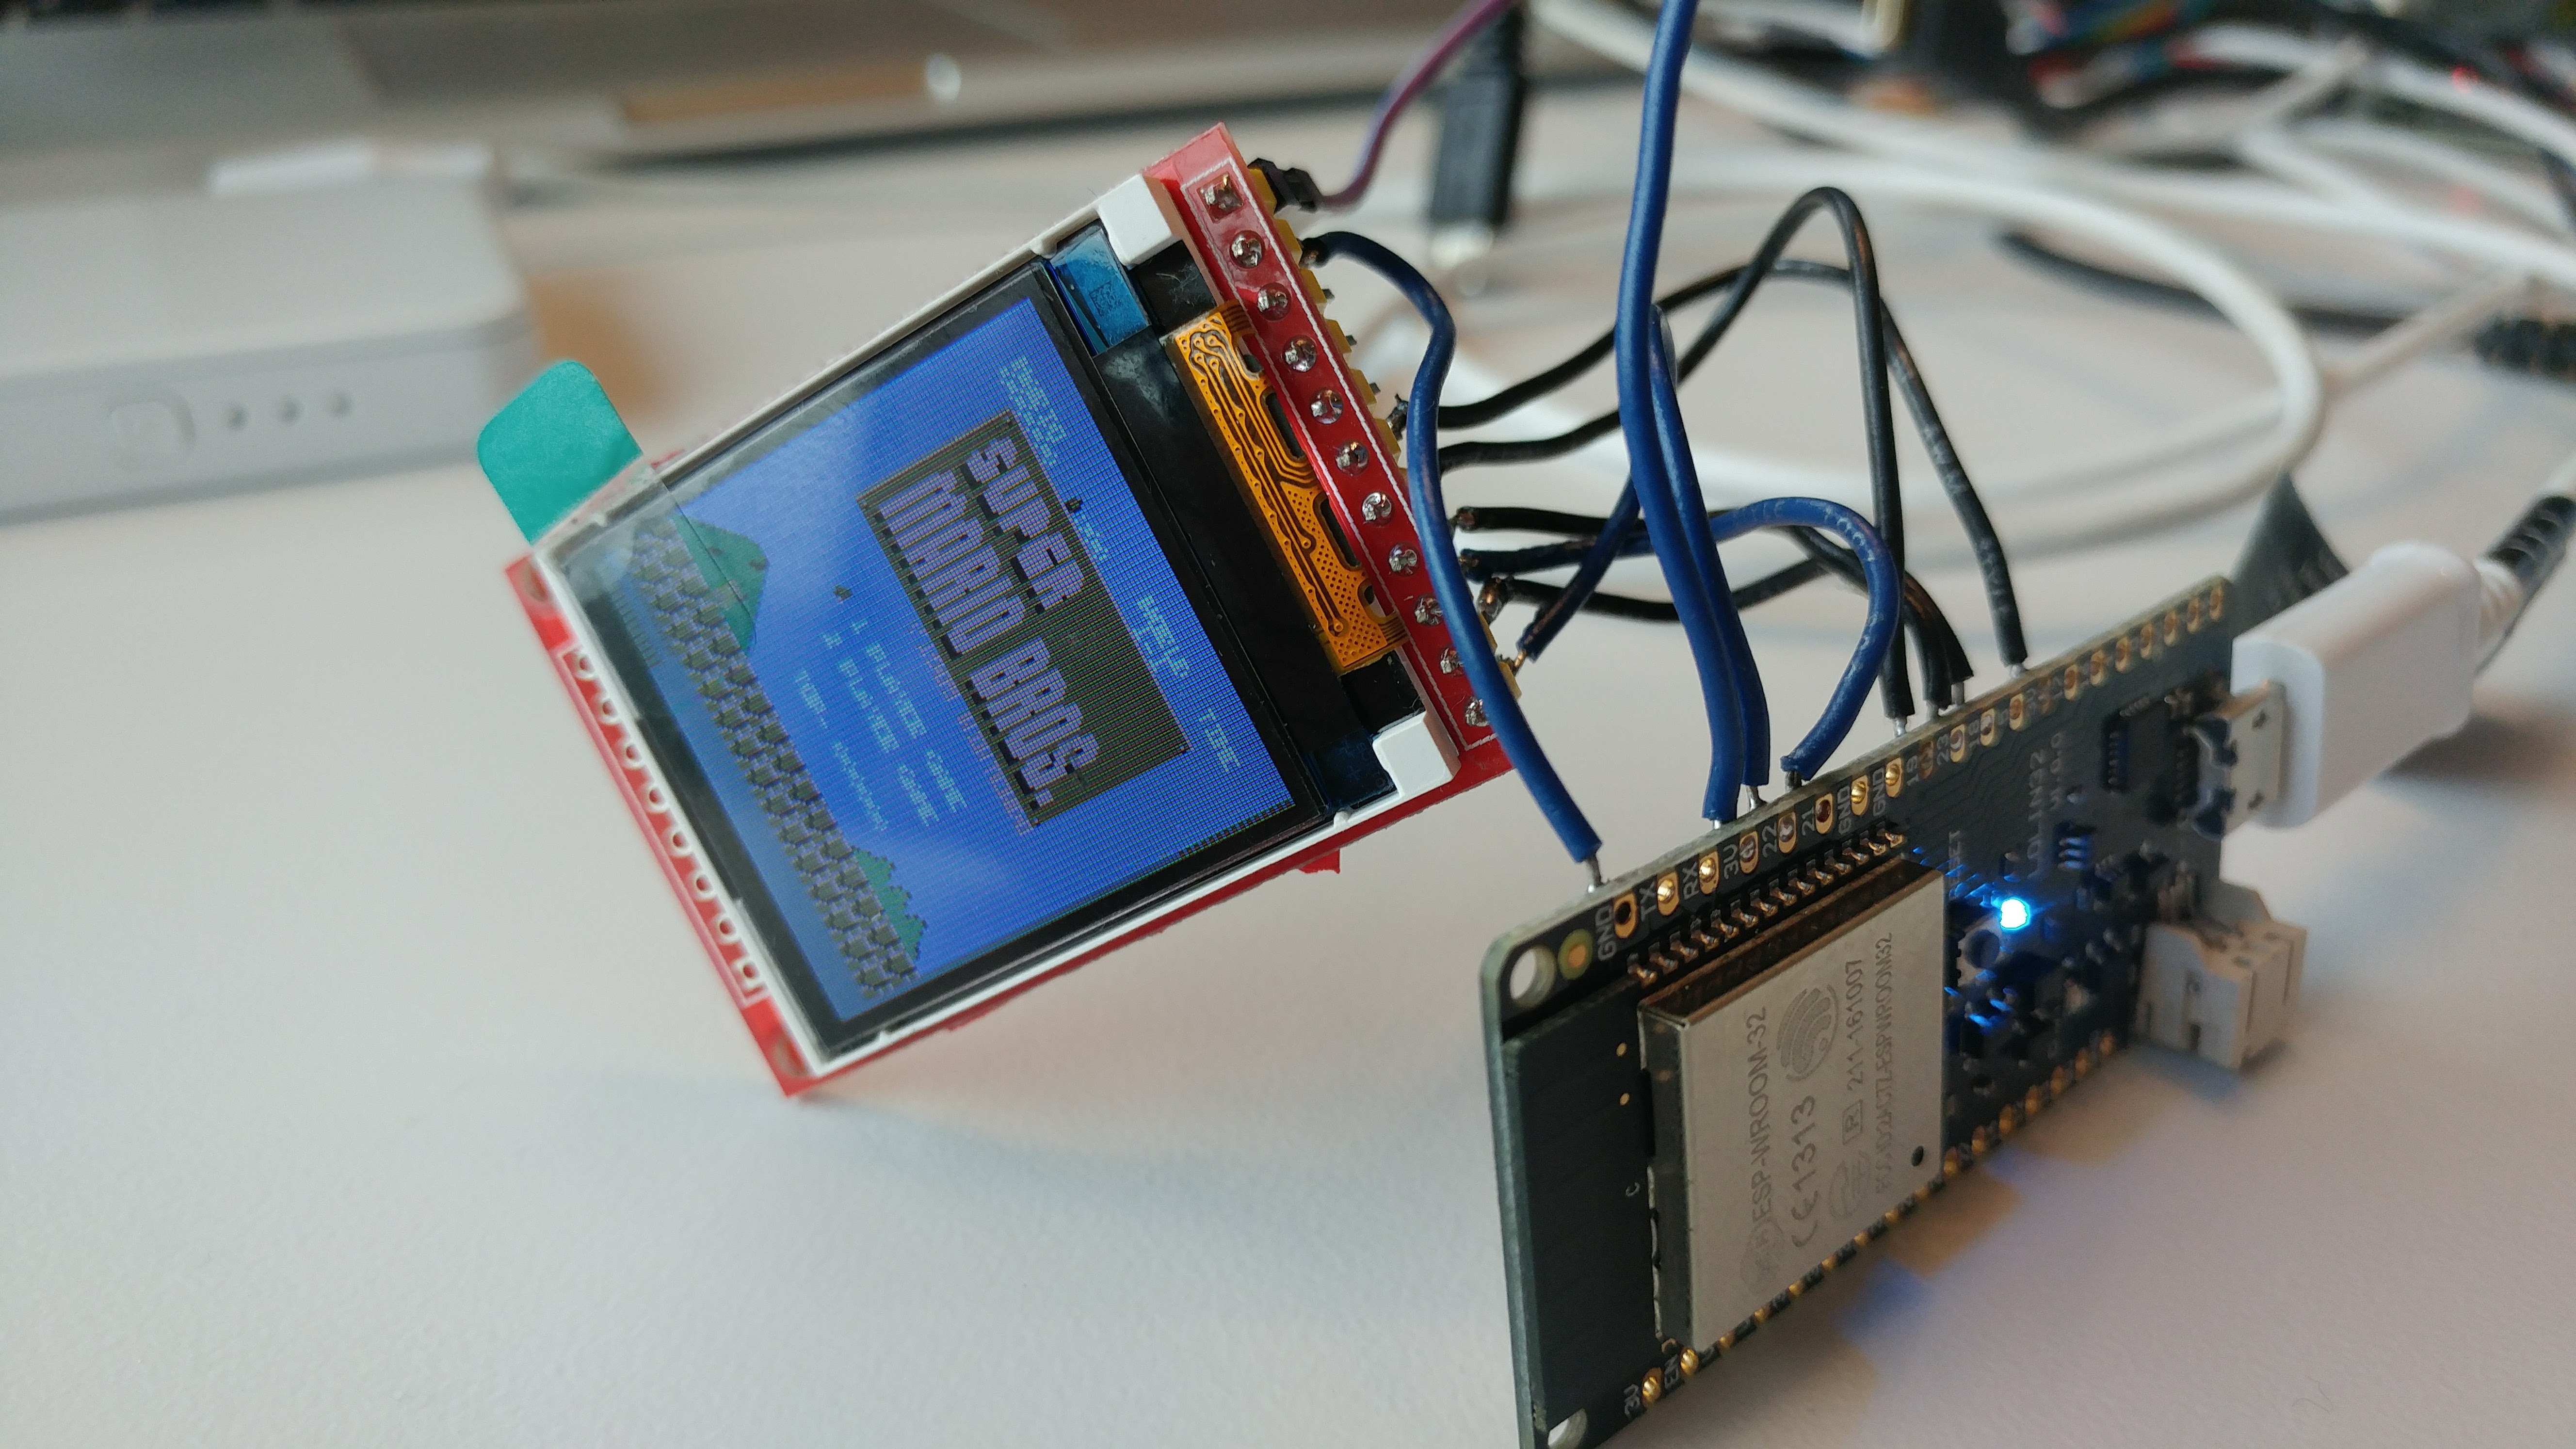
Then I seen one of the developers for the company that makes them ported an NES emulator to it as a quick proof of concept. Wow these chips can run NES games on a 320x240 2.4in tft screen.
https://hackaday.com/2016/10/10/porting-nes-to-the-esp32/
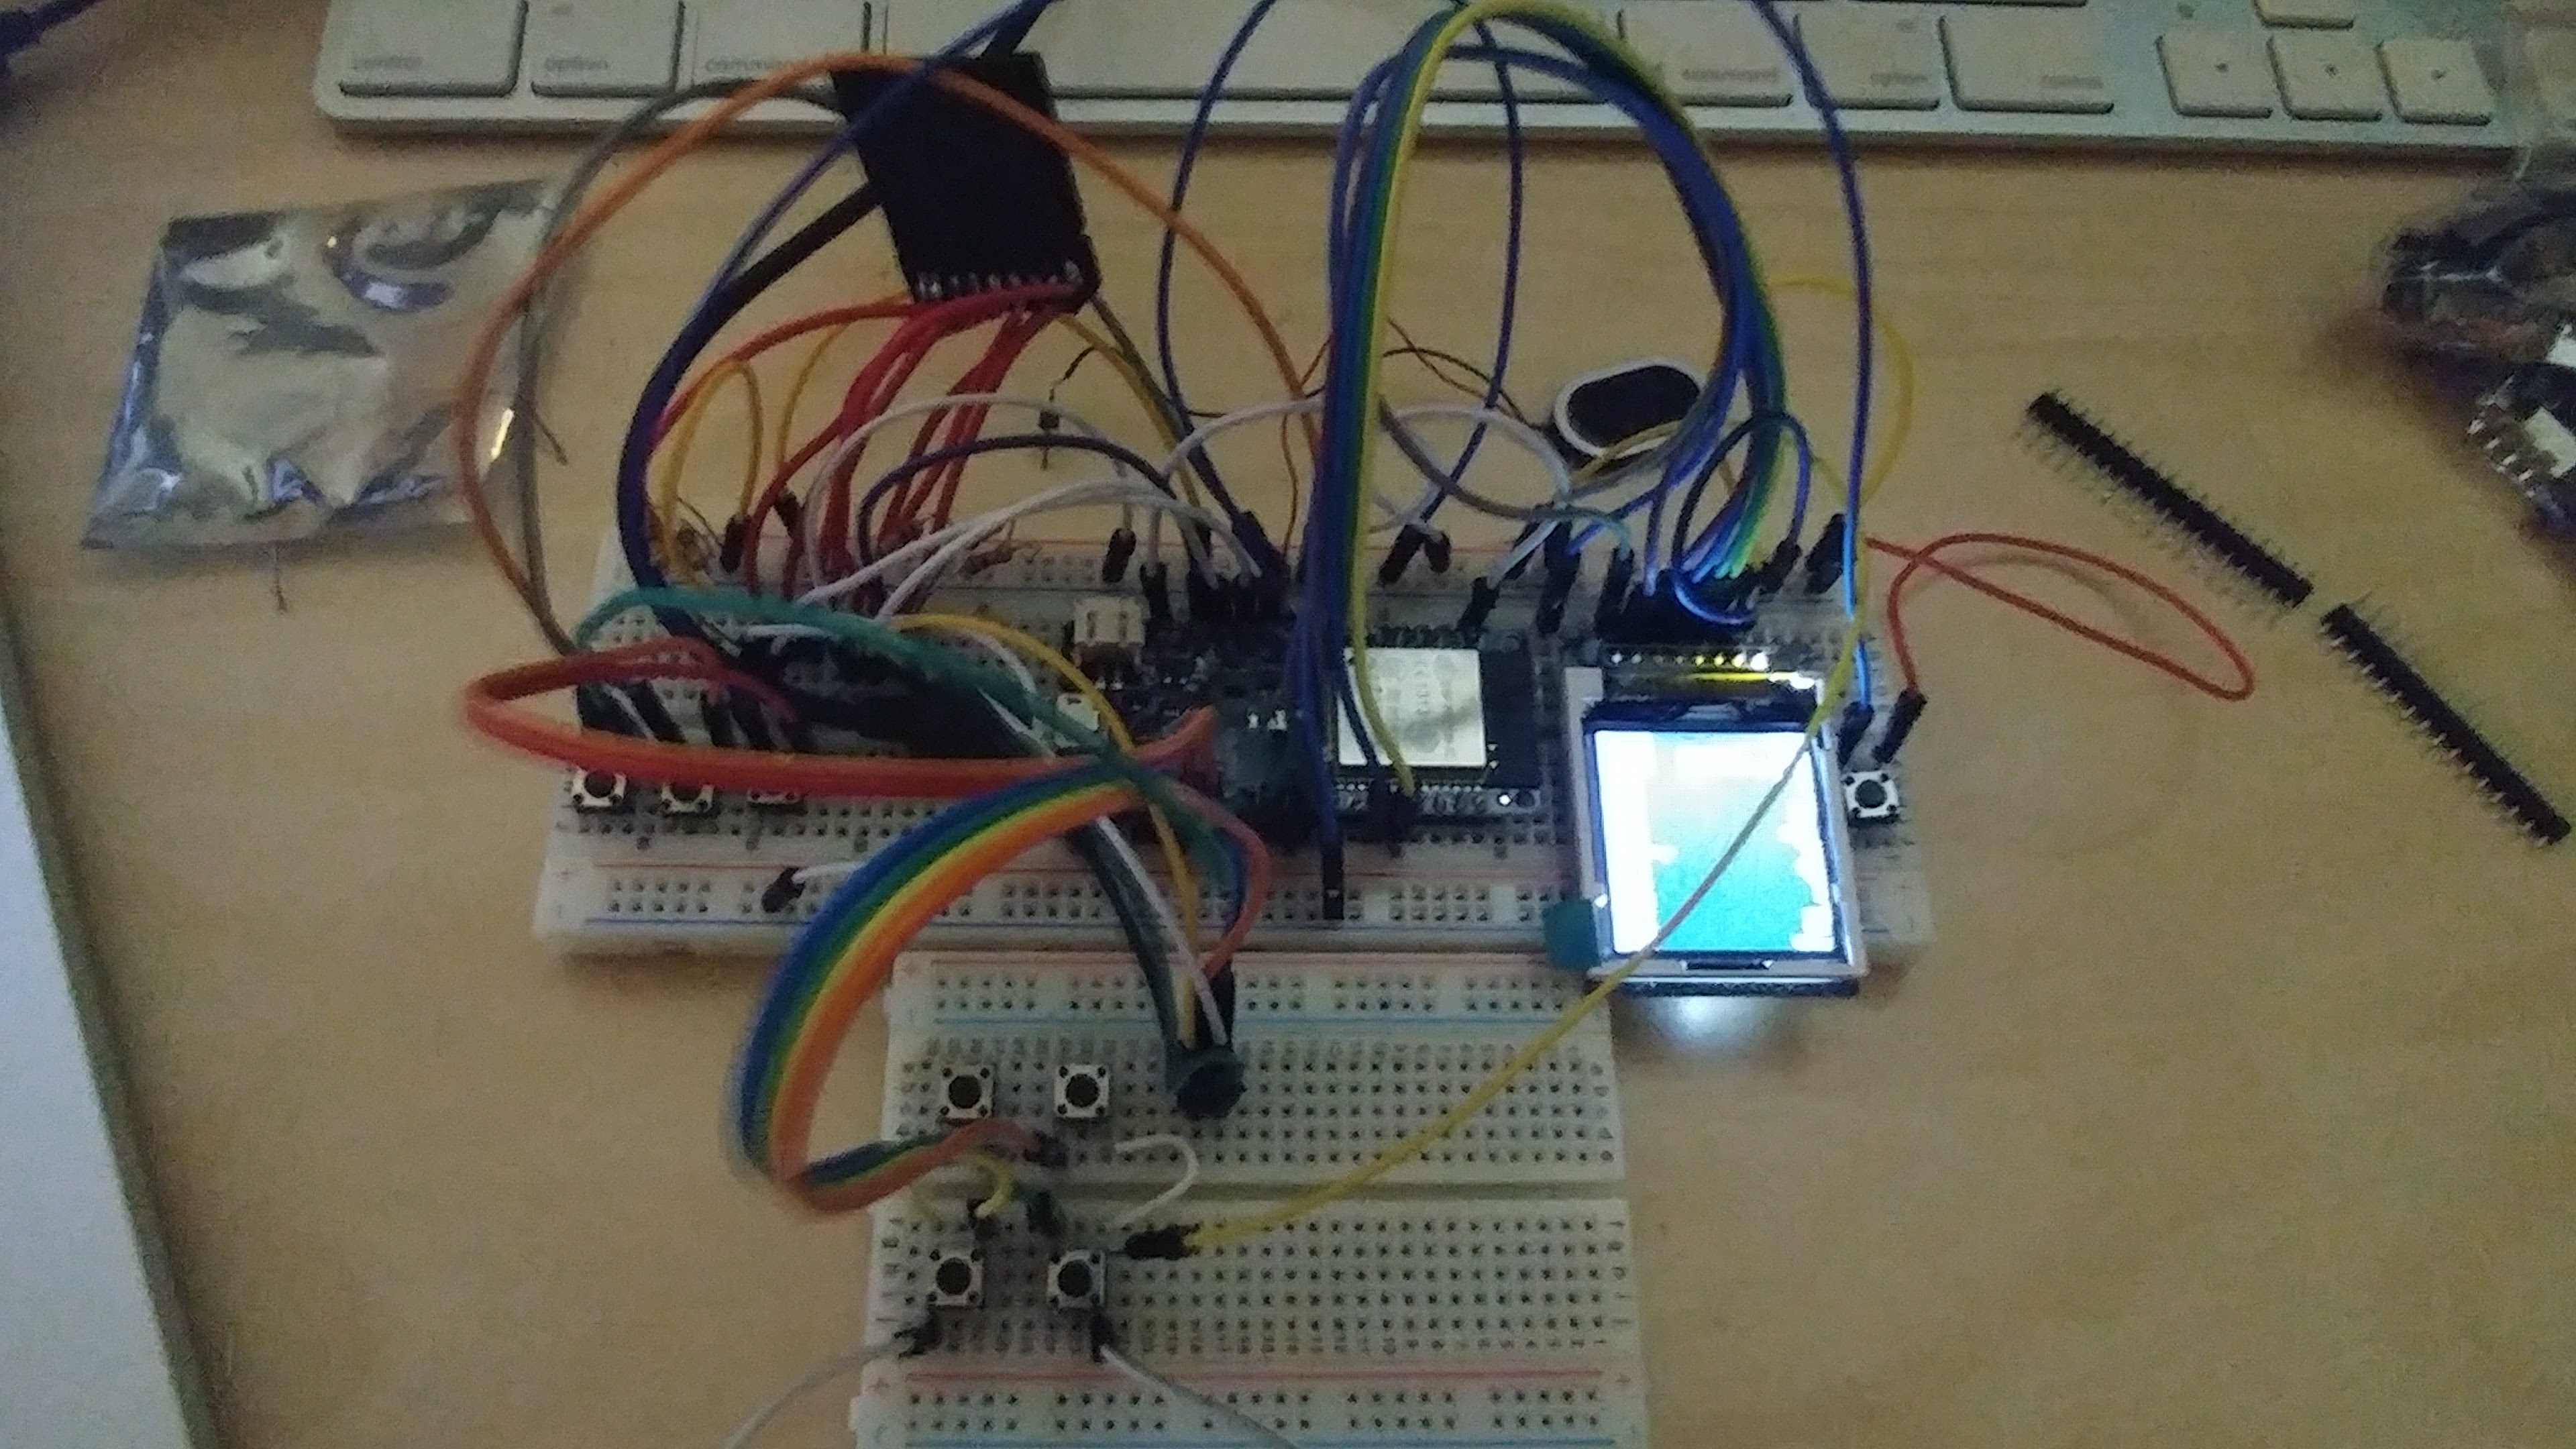
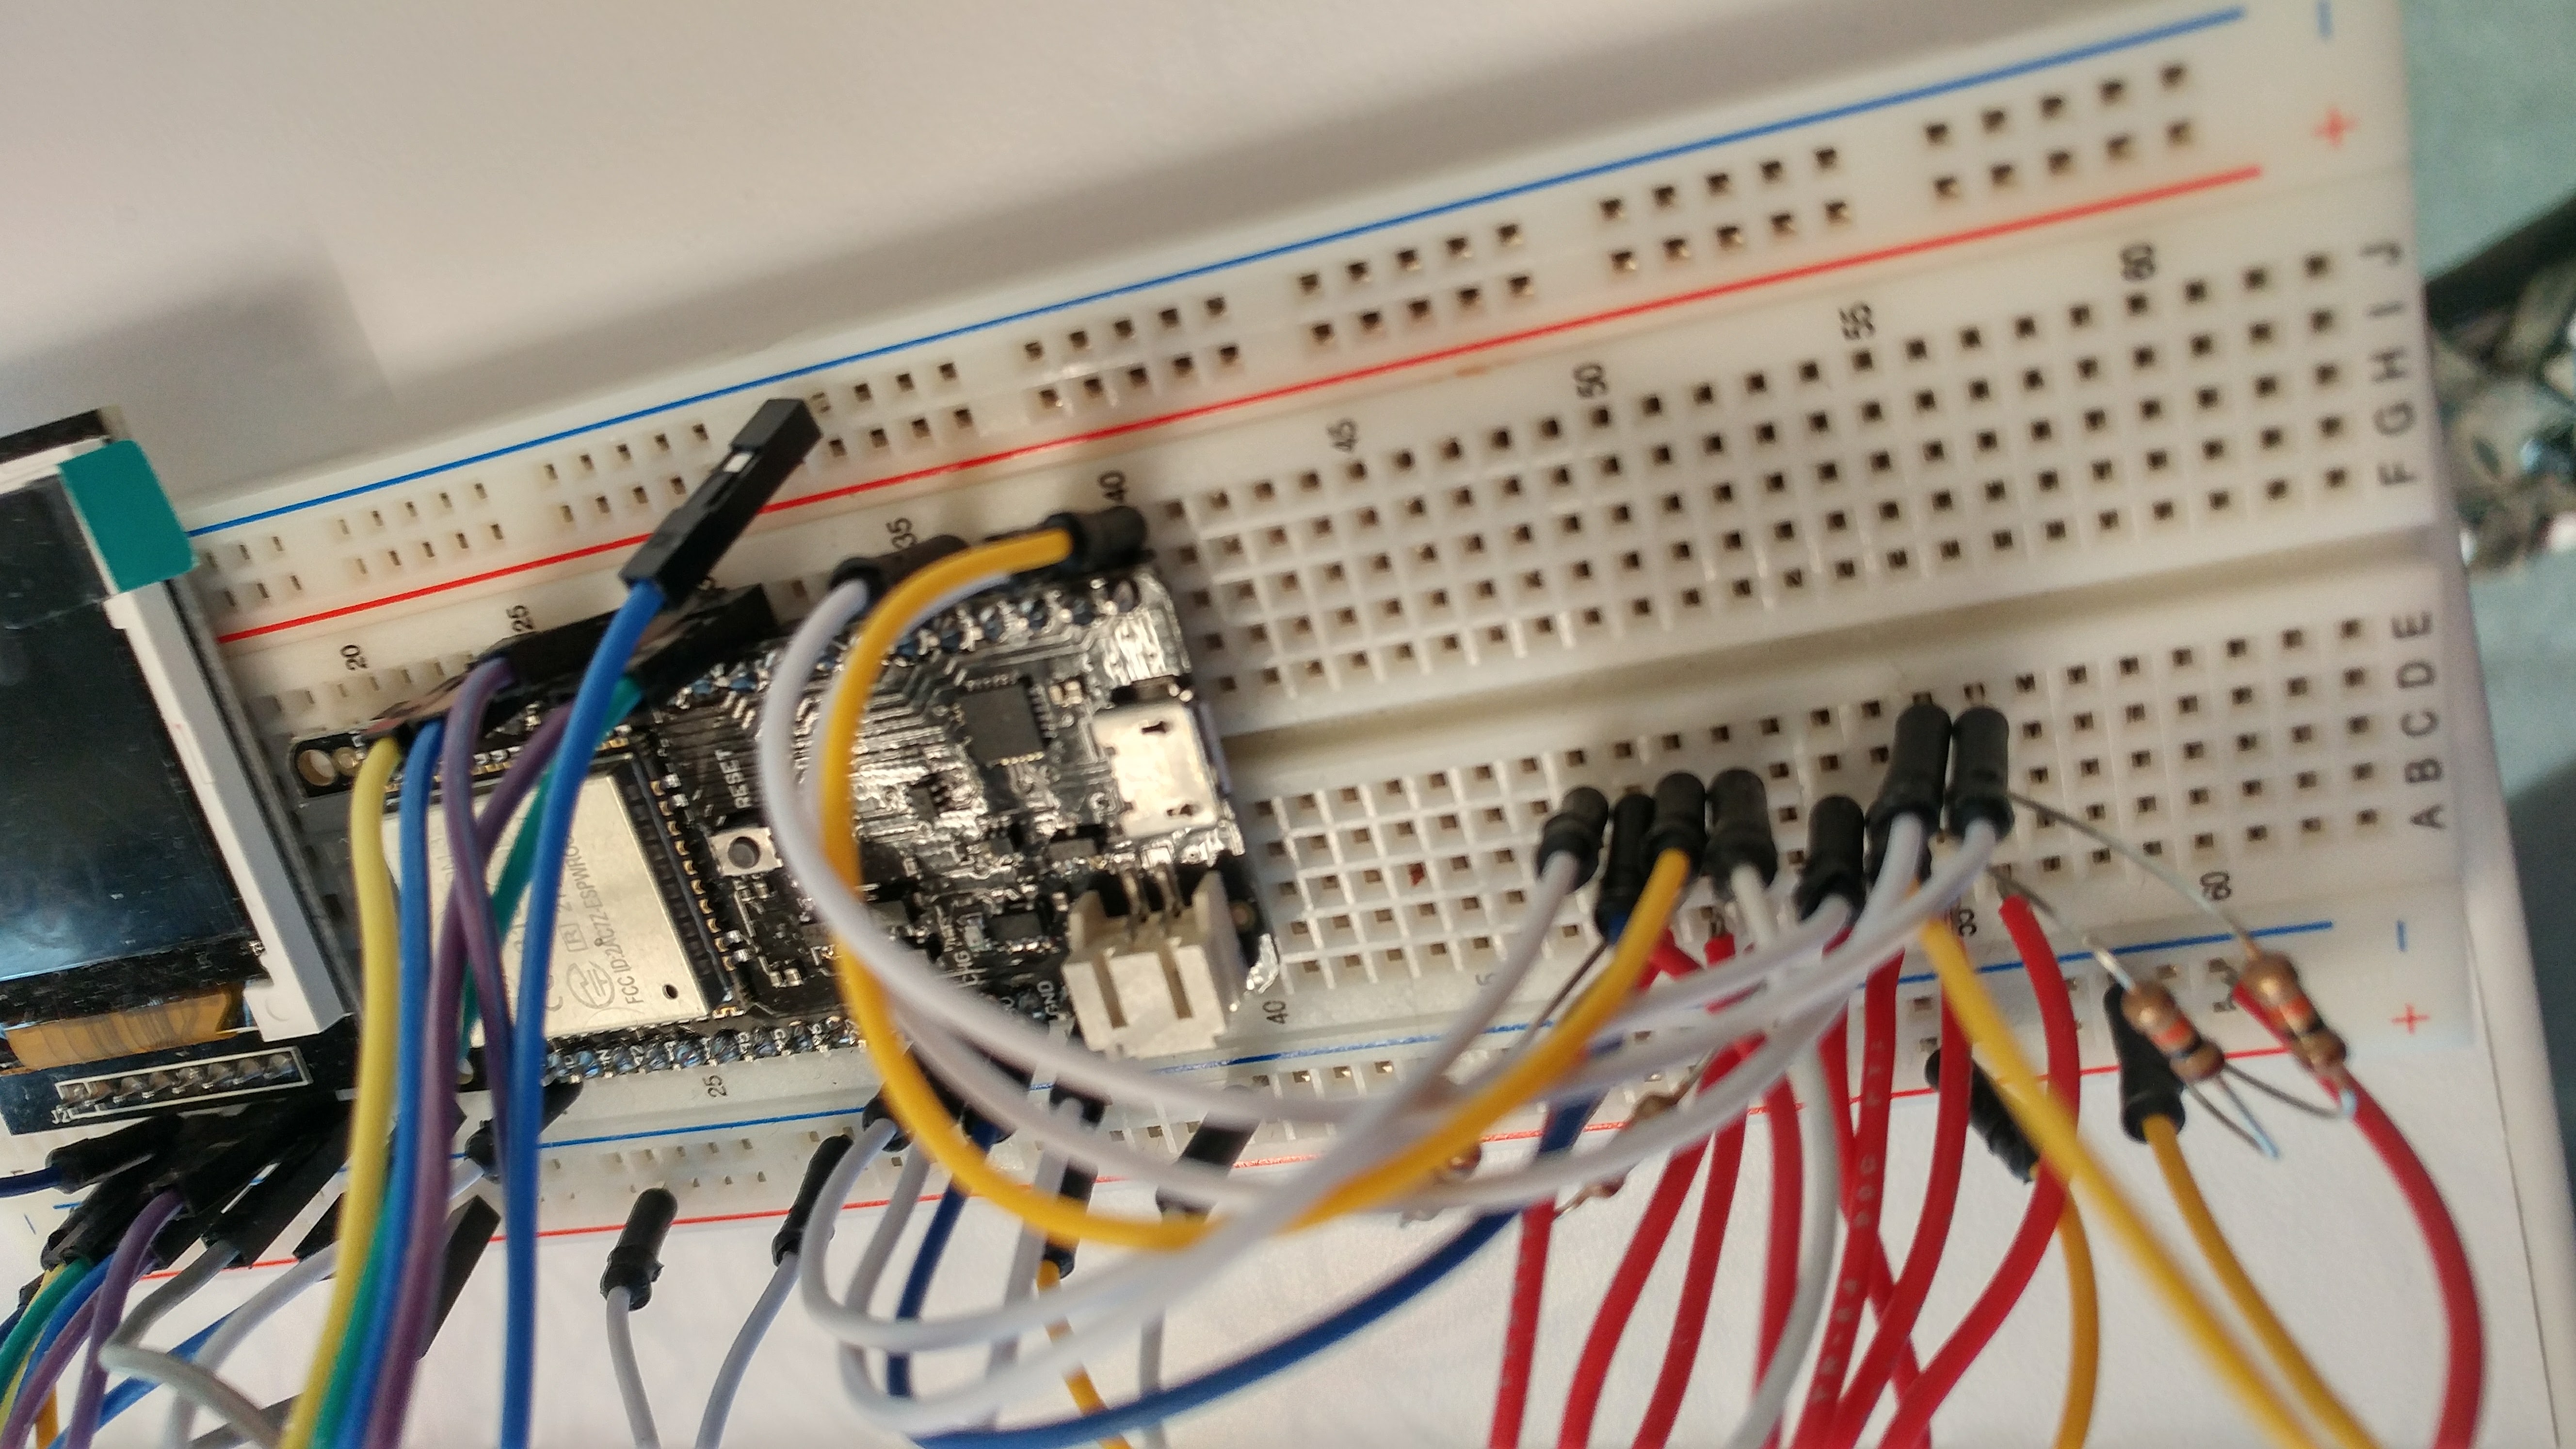
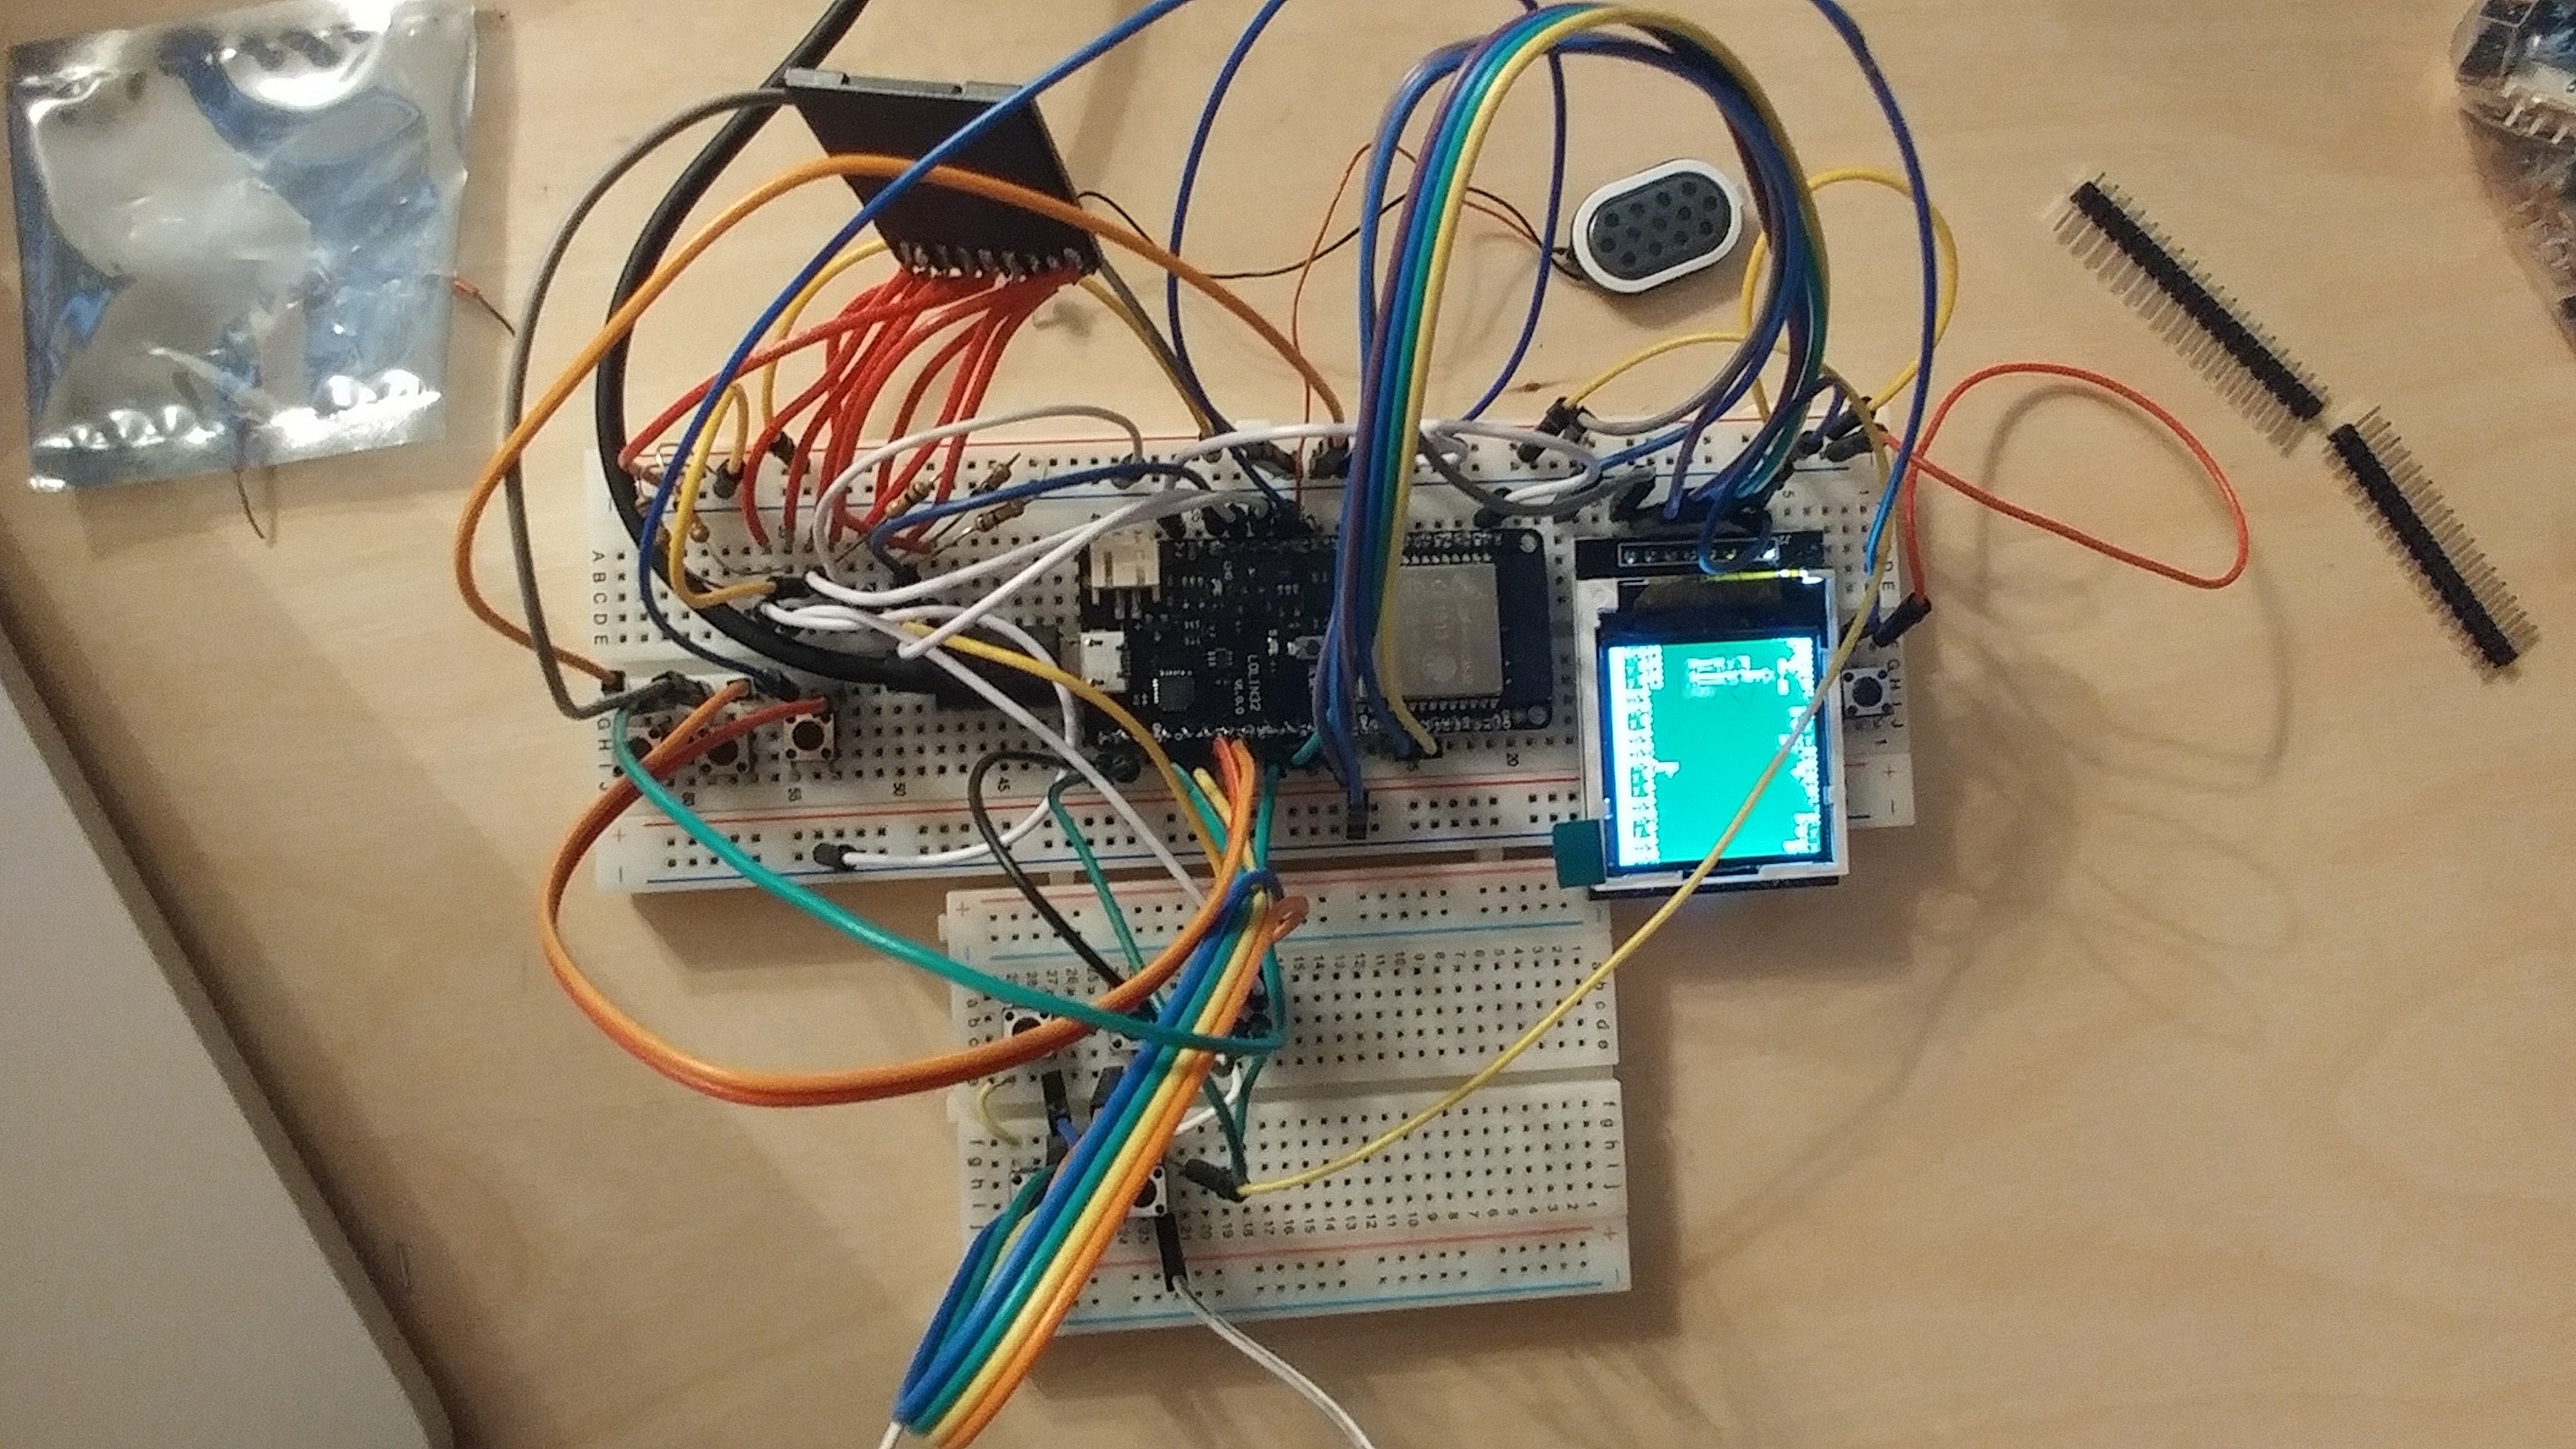
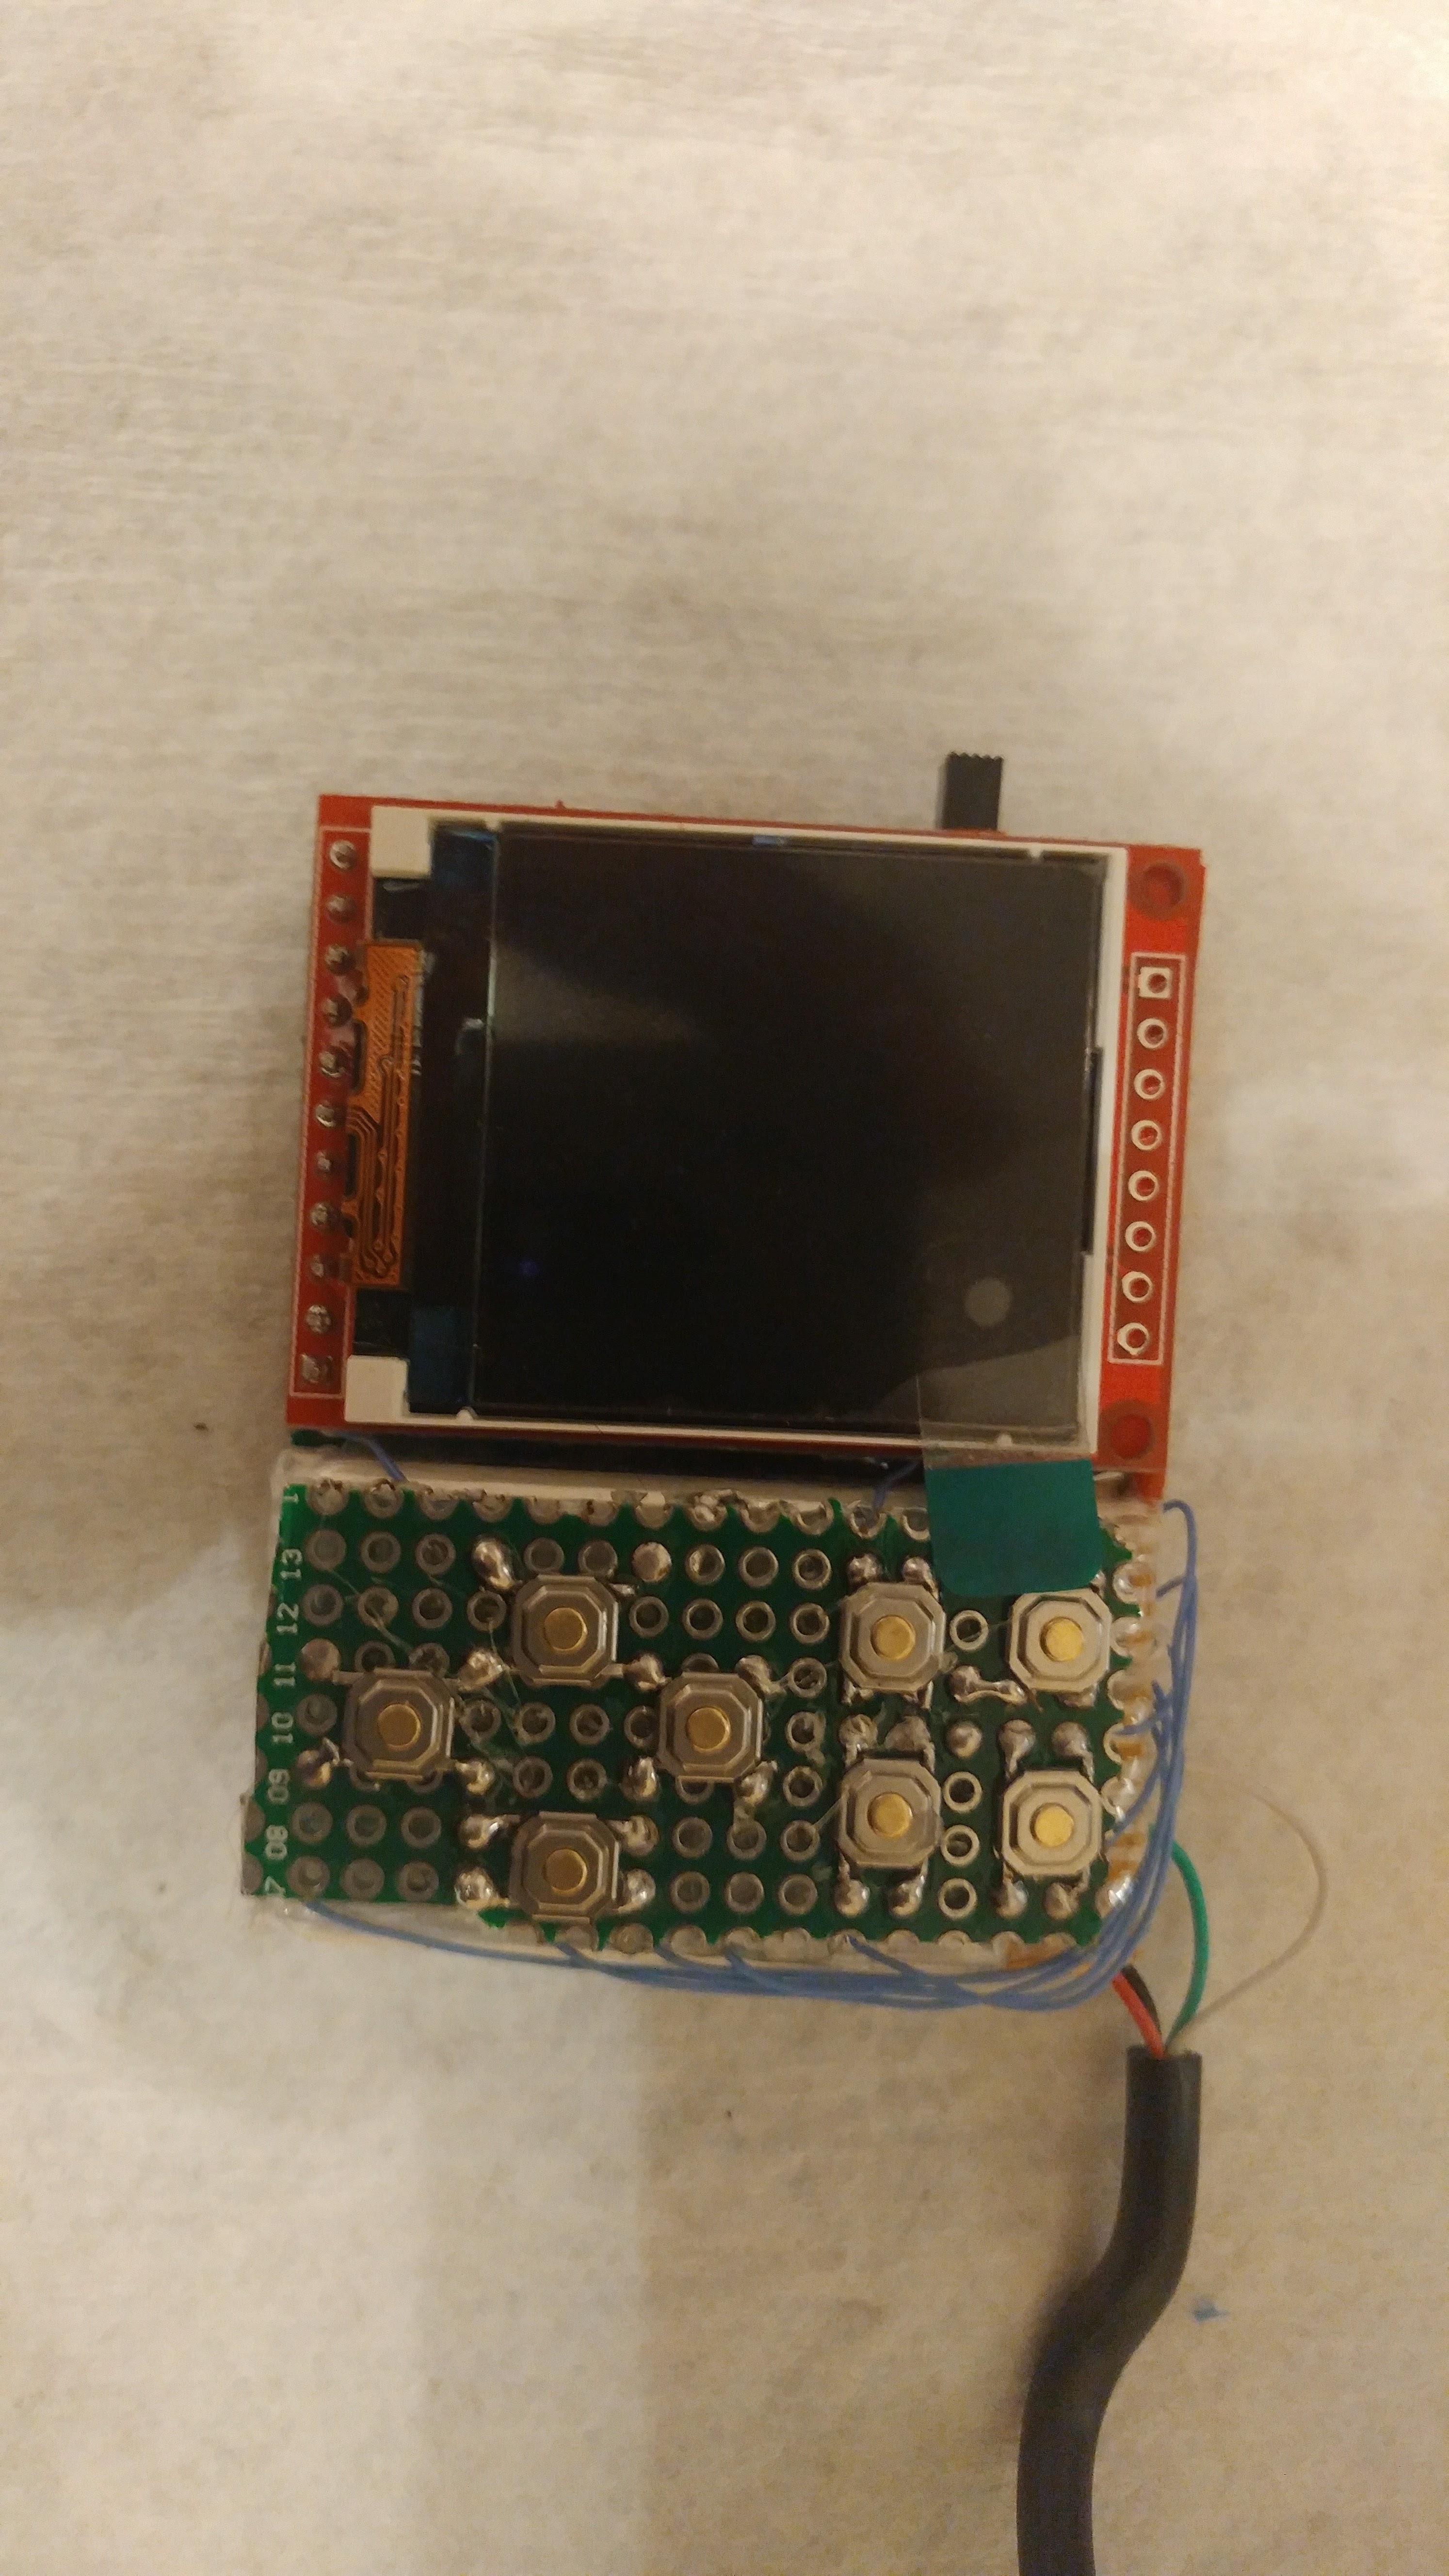
I grabbed the code wired up the screen to the board I have and flashed it over. Bam there I am staring at mario brothers menu screen. Amazing!
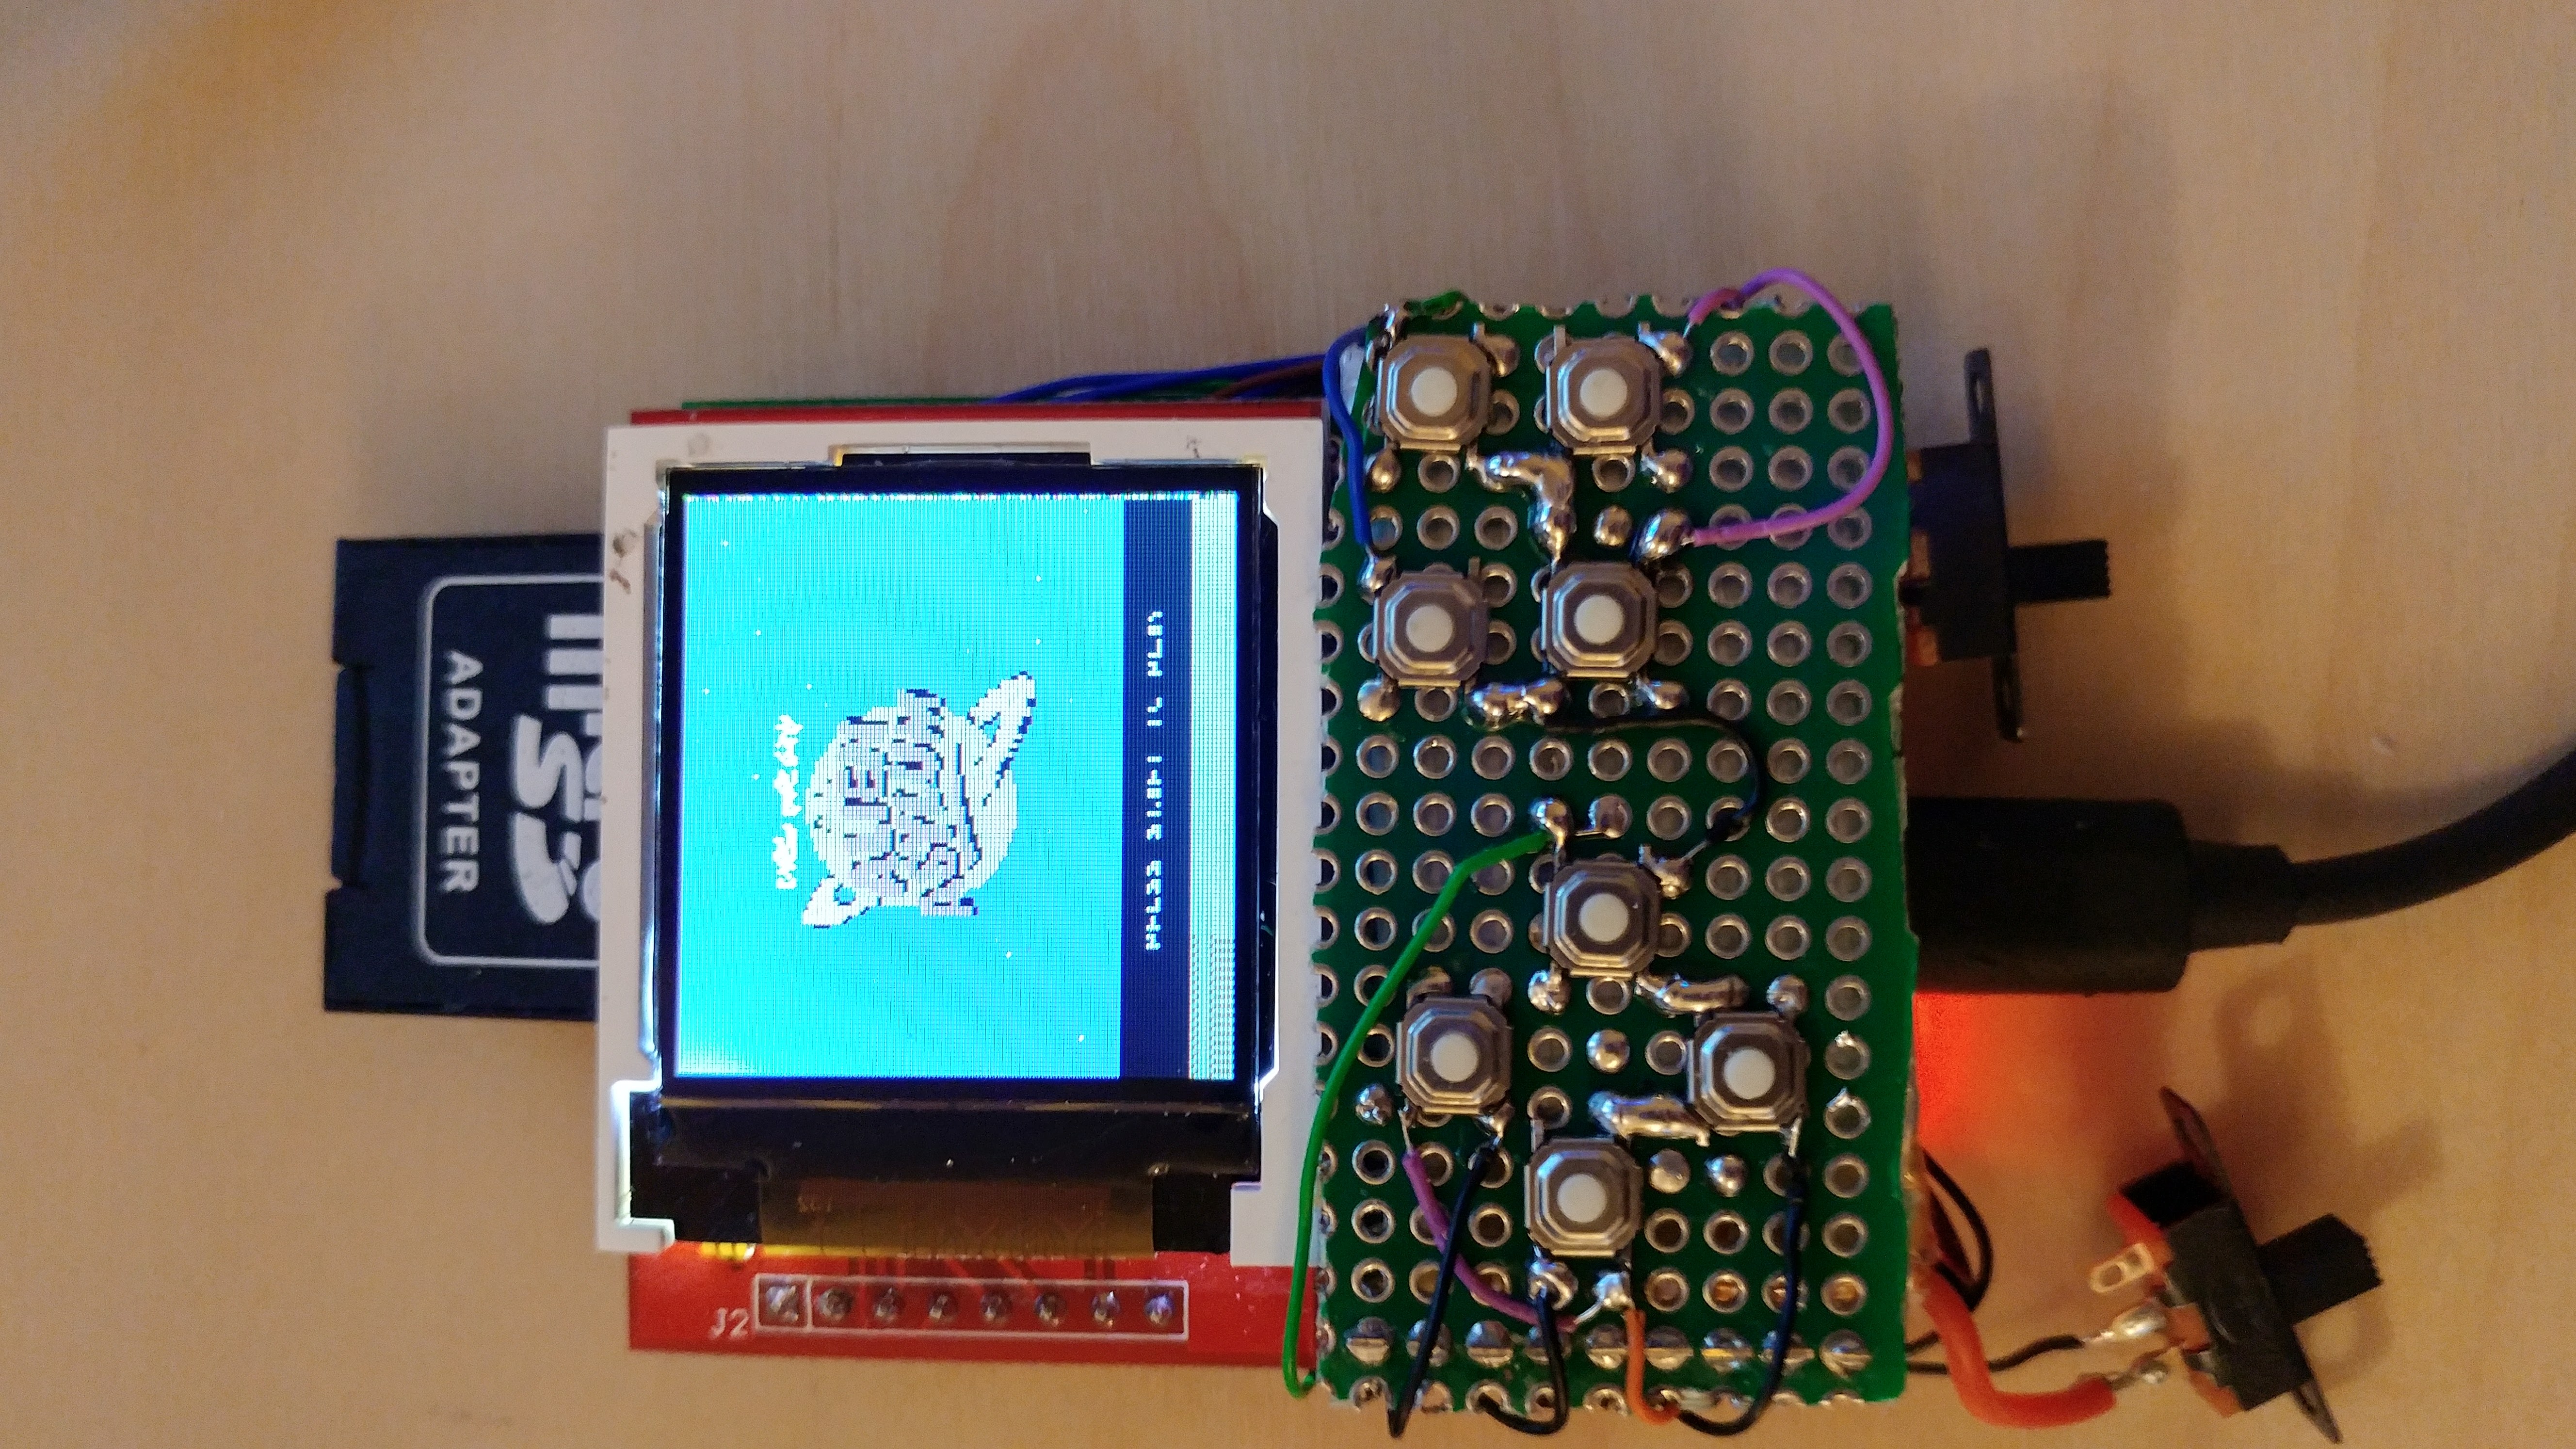
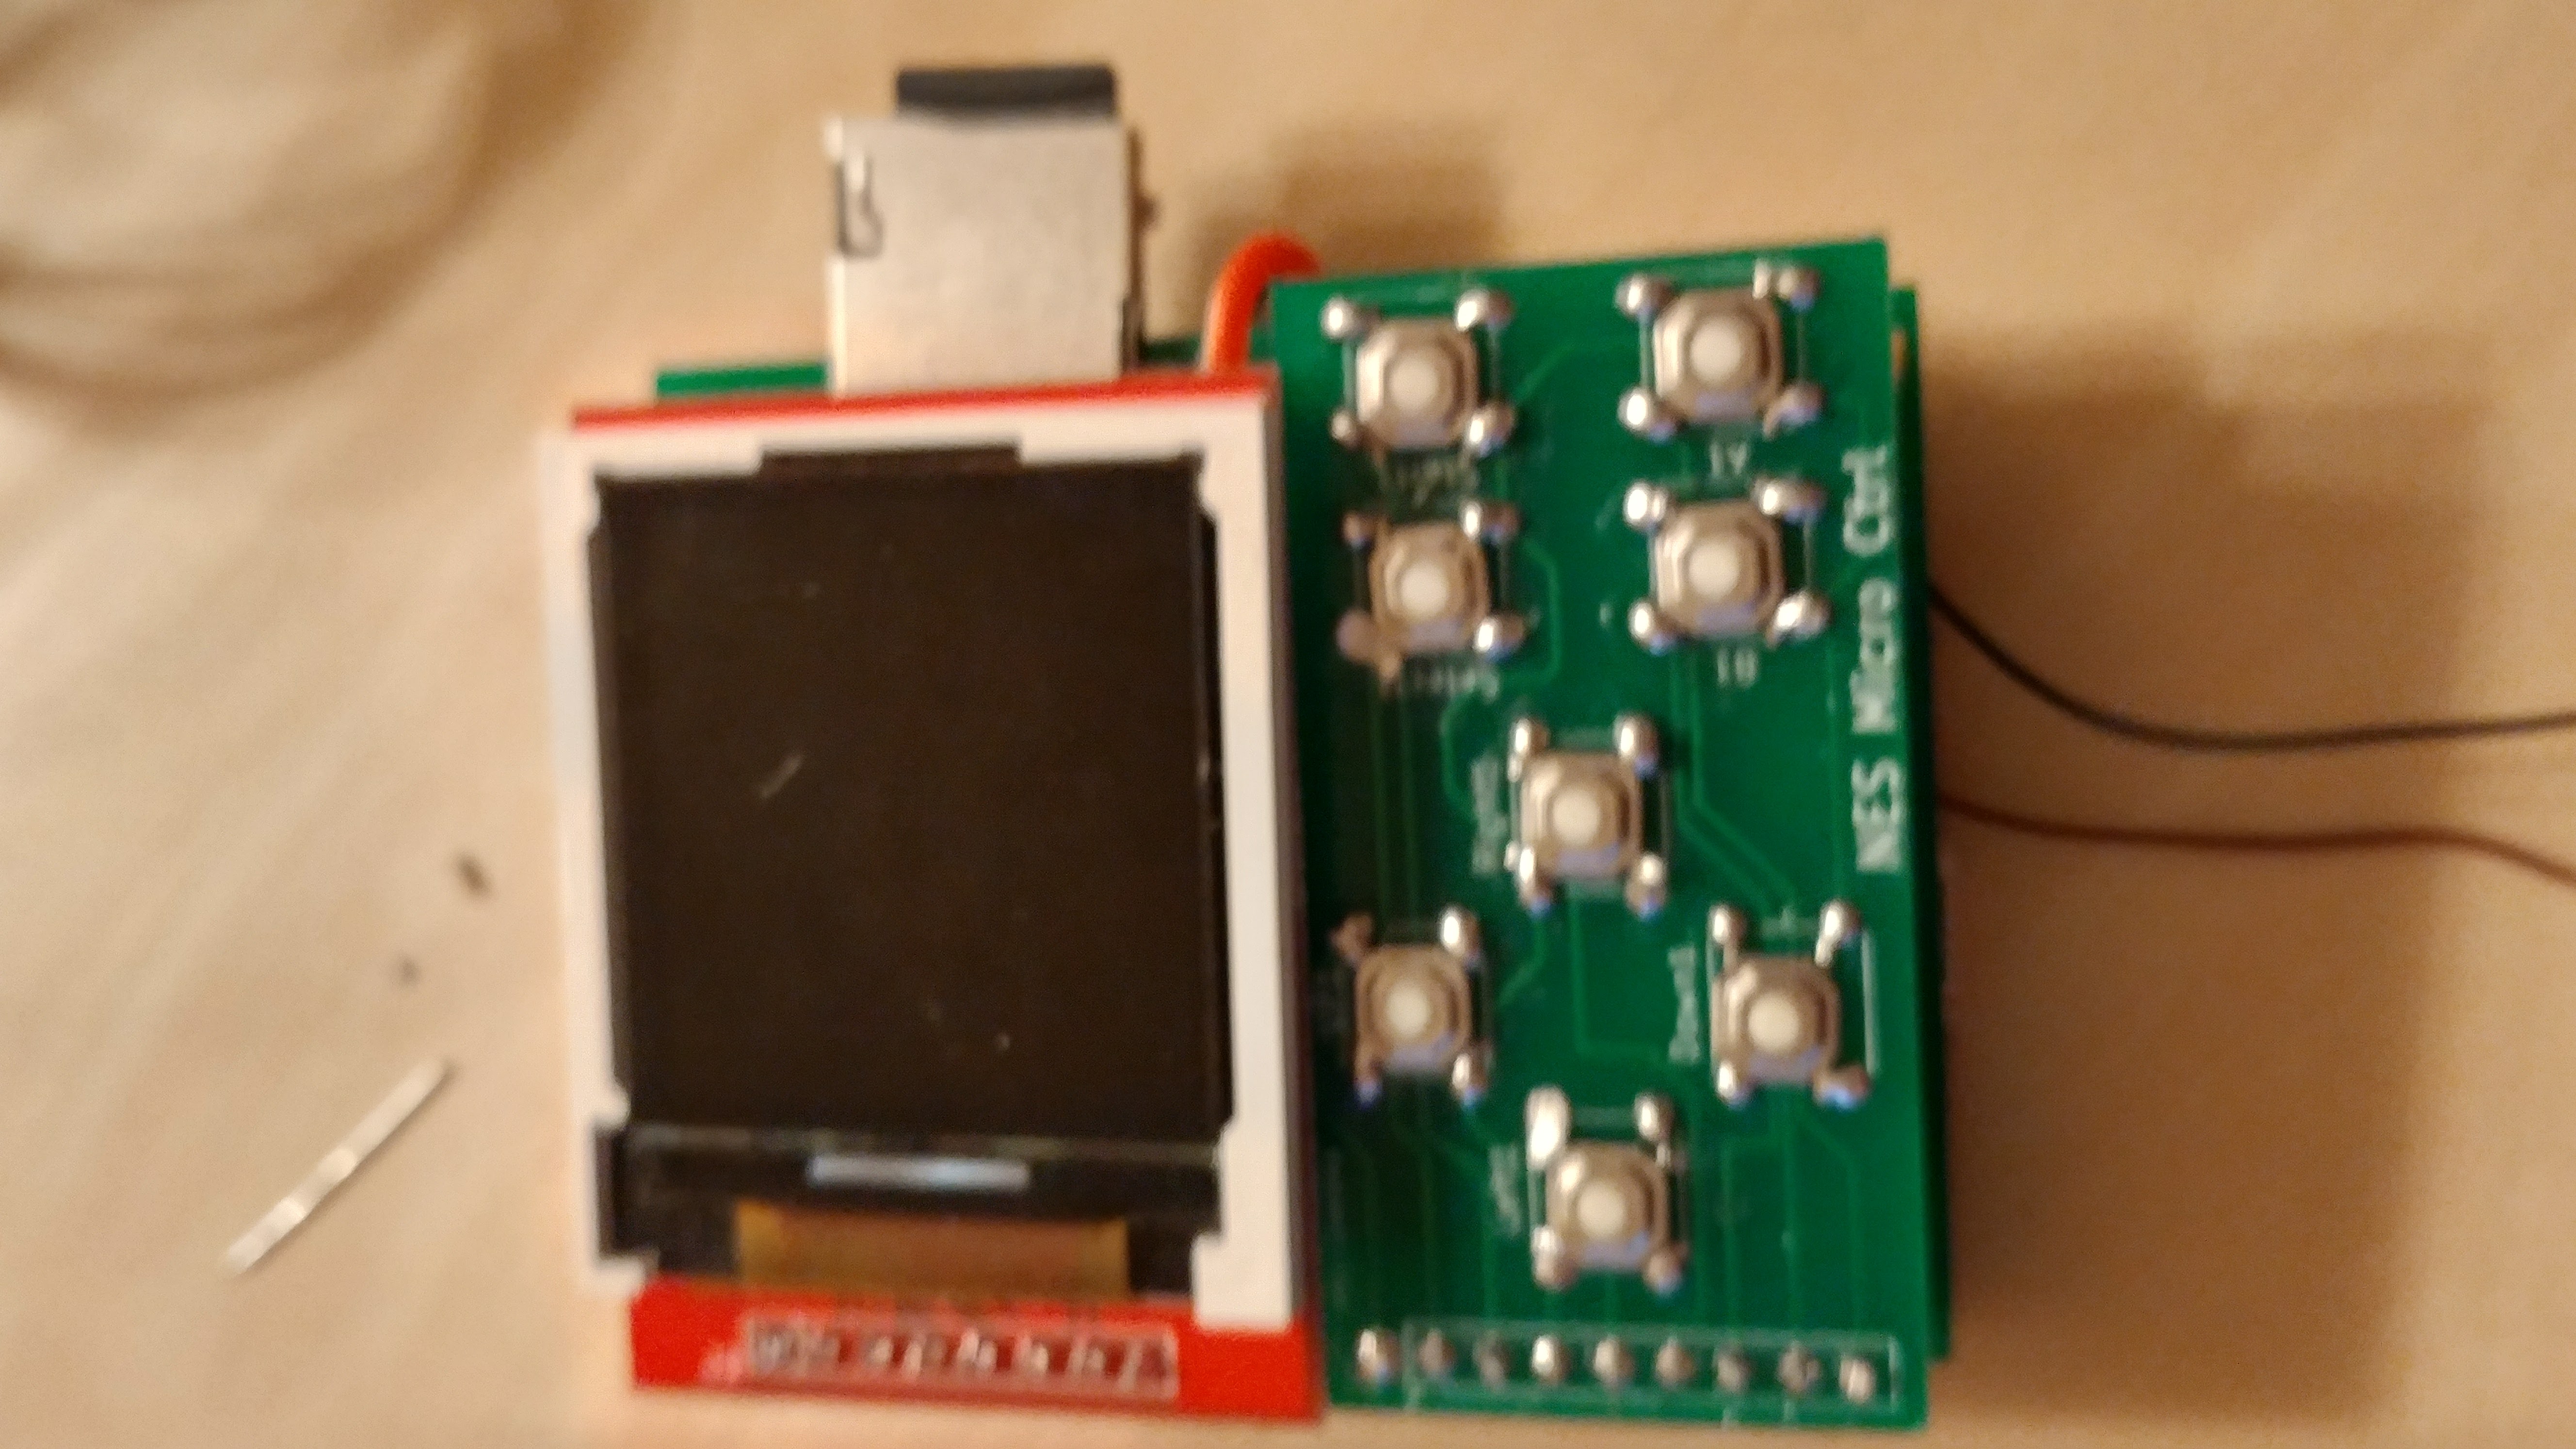
Now I wanted something super tiny and portable. I wanted to try and see if I could make the smallest nintendo ever made. I had some of these 1.4 in tft screens laying around. So I wired up one of these, and it worked. The screen real estate was wrong tho due to the tiny screen being a 128x128 resolution and the NES being 256x240. To fix this I opened up the code and found what was drawing the screen. I couldn't quite figure out how to just resize the screen to the smaller resolution. But I did figure out a trick that worked. I realized that the size was relatively twice what my screen was. So I told the draw routine to just skip every other draw line. This effectively knocked the resolution down to 128x120. And it drew pretty great on this tiny screen. The games actually look fine, you wouldn't really notice that its missing anything. Only draw back is that all the text on the screen is likely unreadable now. Some games this wasn't an issue but most this trick took out too much of the data so you can't read the screen text now. But the games play great regardless.
The original code was setup to work with a playstation controller. I wanted it to be a handheld game with simple buttons to control the game. I wrote a simple GPIO buttons library to handle this. And plumbed it into the code replacing the psx game controller library.
Games were working pretty good at this point, but it was simply one game at a time that could be supported. I did some math and figured out that there was about enough flash space to fit around 15-20 games along side the emulator. So for my first revision, I updated the code to support multiple games loaded to the system at once, and added a simple loader that if you held down a button or combination of buttons on boot it would load the game that was associated with that key combo. This worked pretty good, but loading games was still a manual process requiring use of the flasher tool to load them to the specific memory partition. My ultimate goal was to add support for an sd card and allow the user to load a game from this. After some research I did just that. I was able to add sd card support to the hardware and software design. Games can not be loaded directly from the sd card due to how the memory mapping works. But you can load a game from the sd card into the flash rom and then play it from there. So essentially you have a partition setup on the device that holds the current game rom. And you can flash a new one from the sd card there and reboot and it would boot that new game.
With a working sd card loader I now needed a menu system for selecting the game that is to be loaded. I found buried in the code for the emulator a display system that would write text to the screen. I decided to save space and some time to utilize this existing code for my menu system. I was able to adjust the code so that there was 2 states to load from. One would go to the game rom currently loaded. The other would boot into this menu screen. I set it up so that if you hold down select at start up you will be presented with the menu and a list of all the games found on the sd card. From here you can pick the game you want and press start. The game would be then downloaded from the sd card into the rom. All you had to do now was restart the system and your game would load.
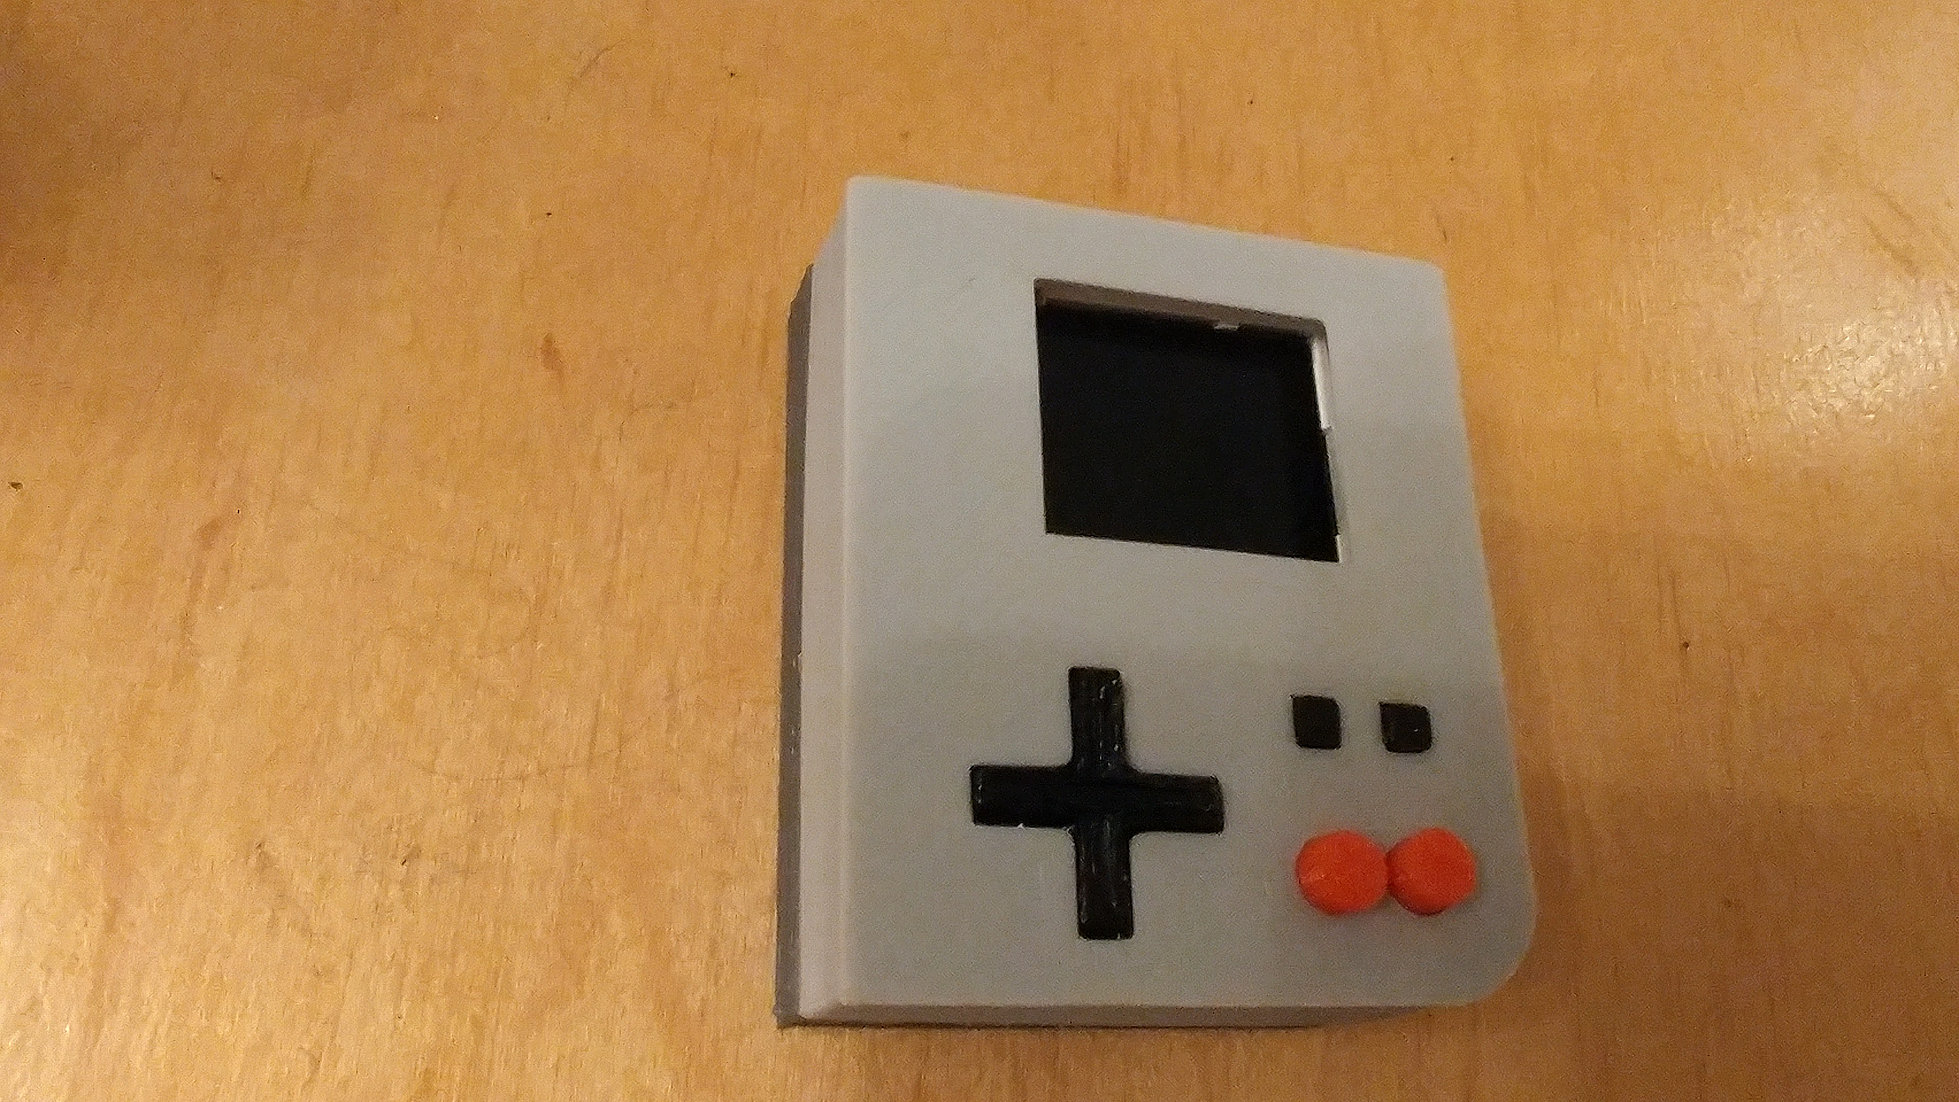
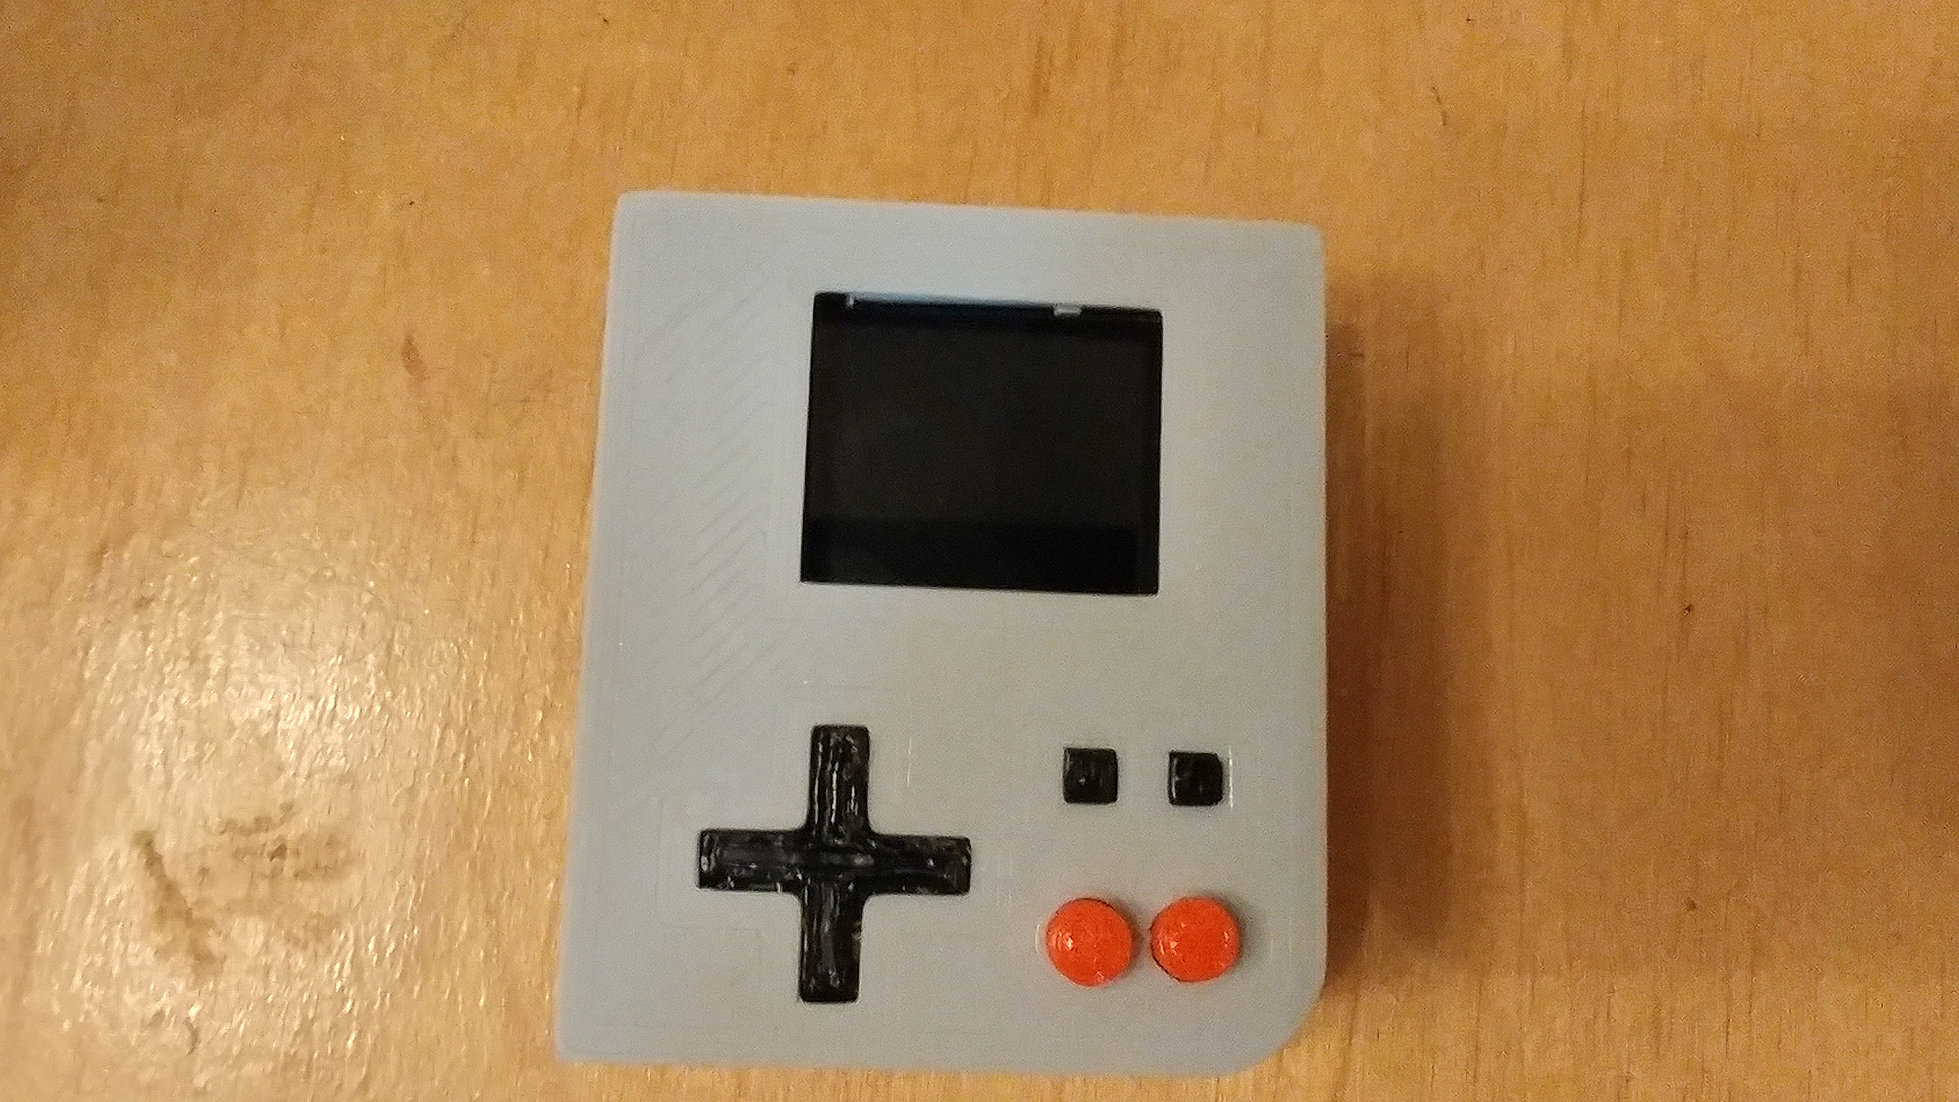
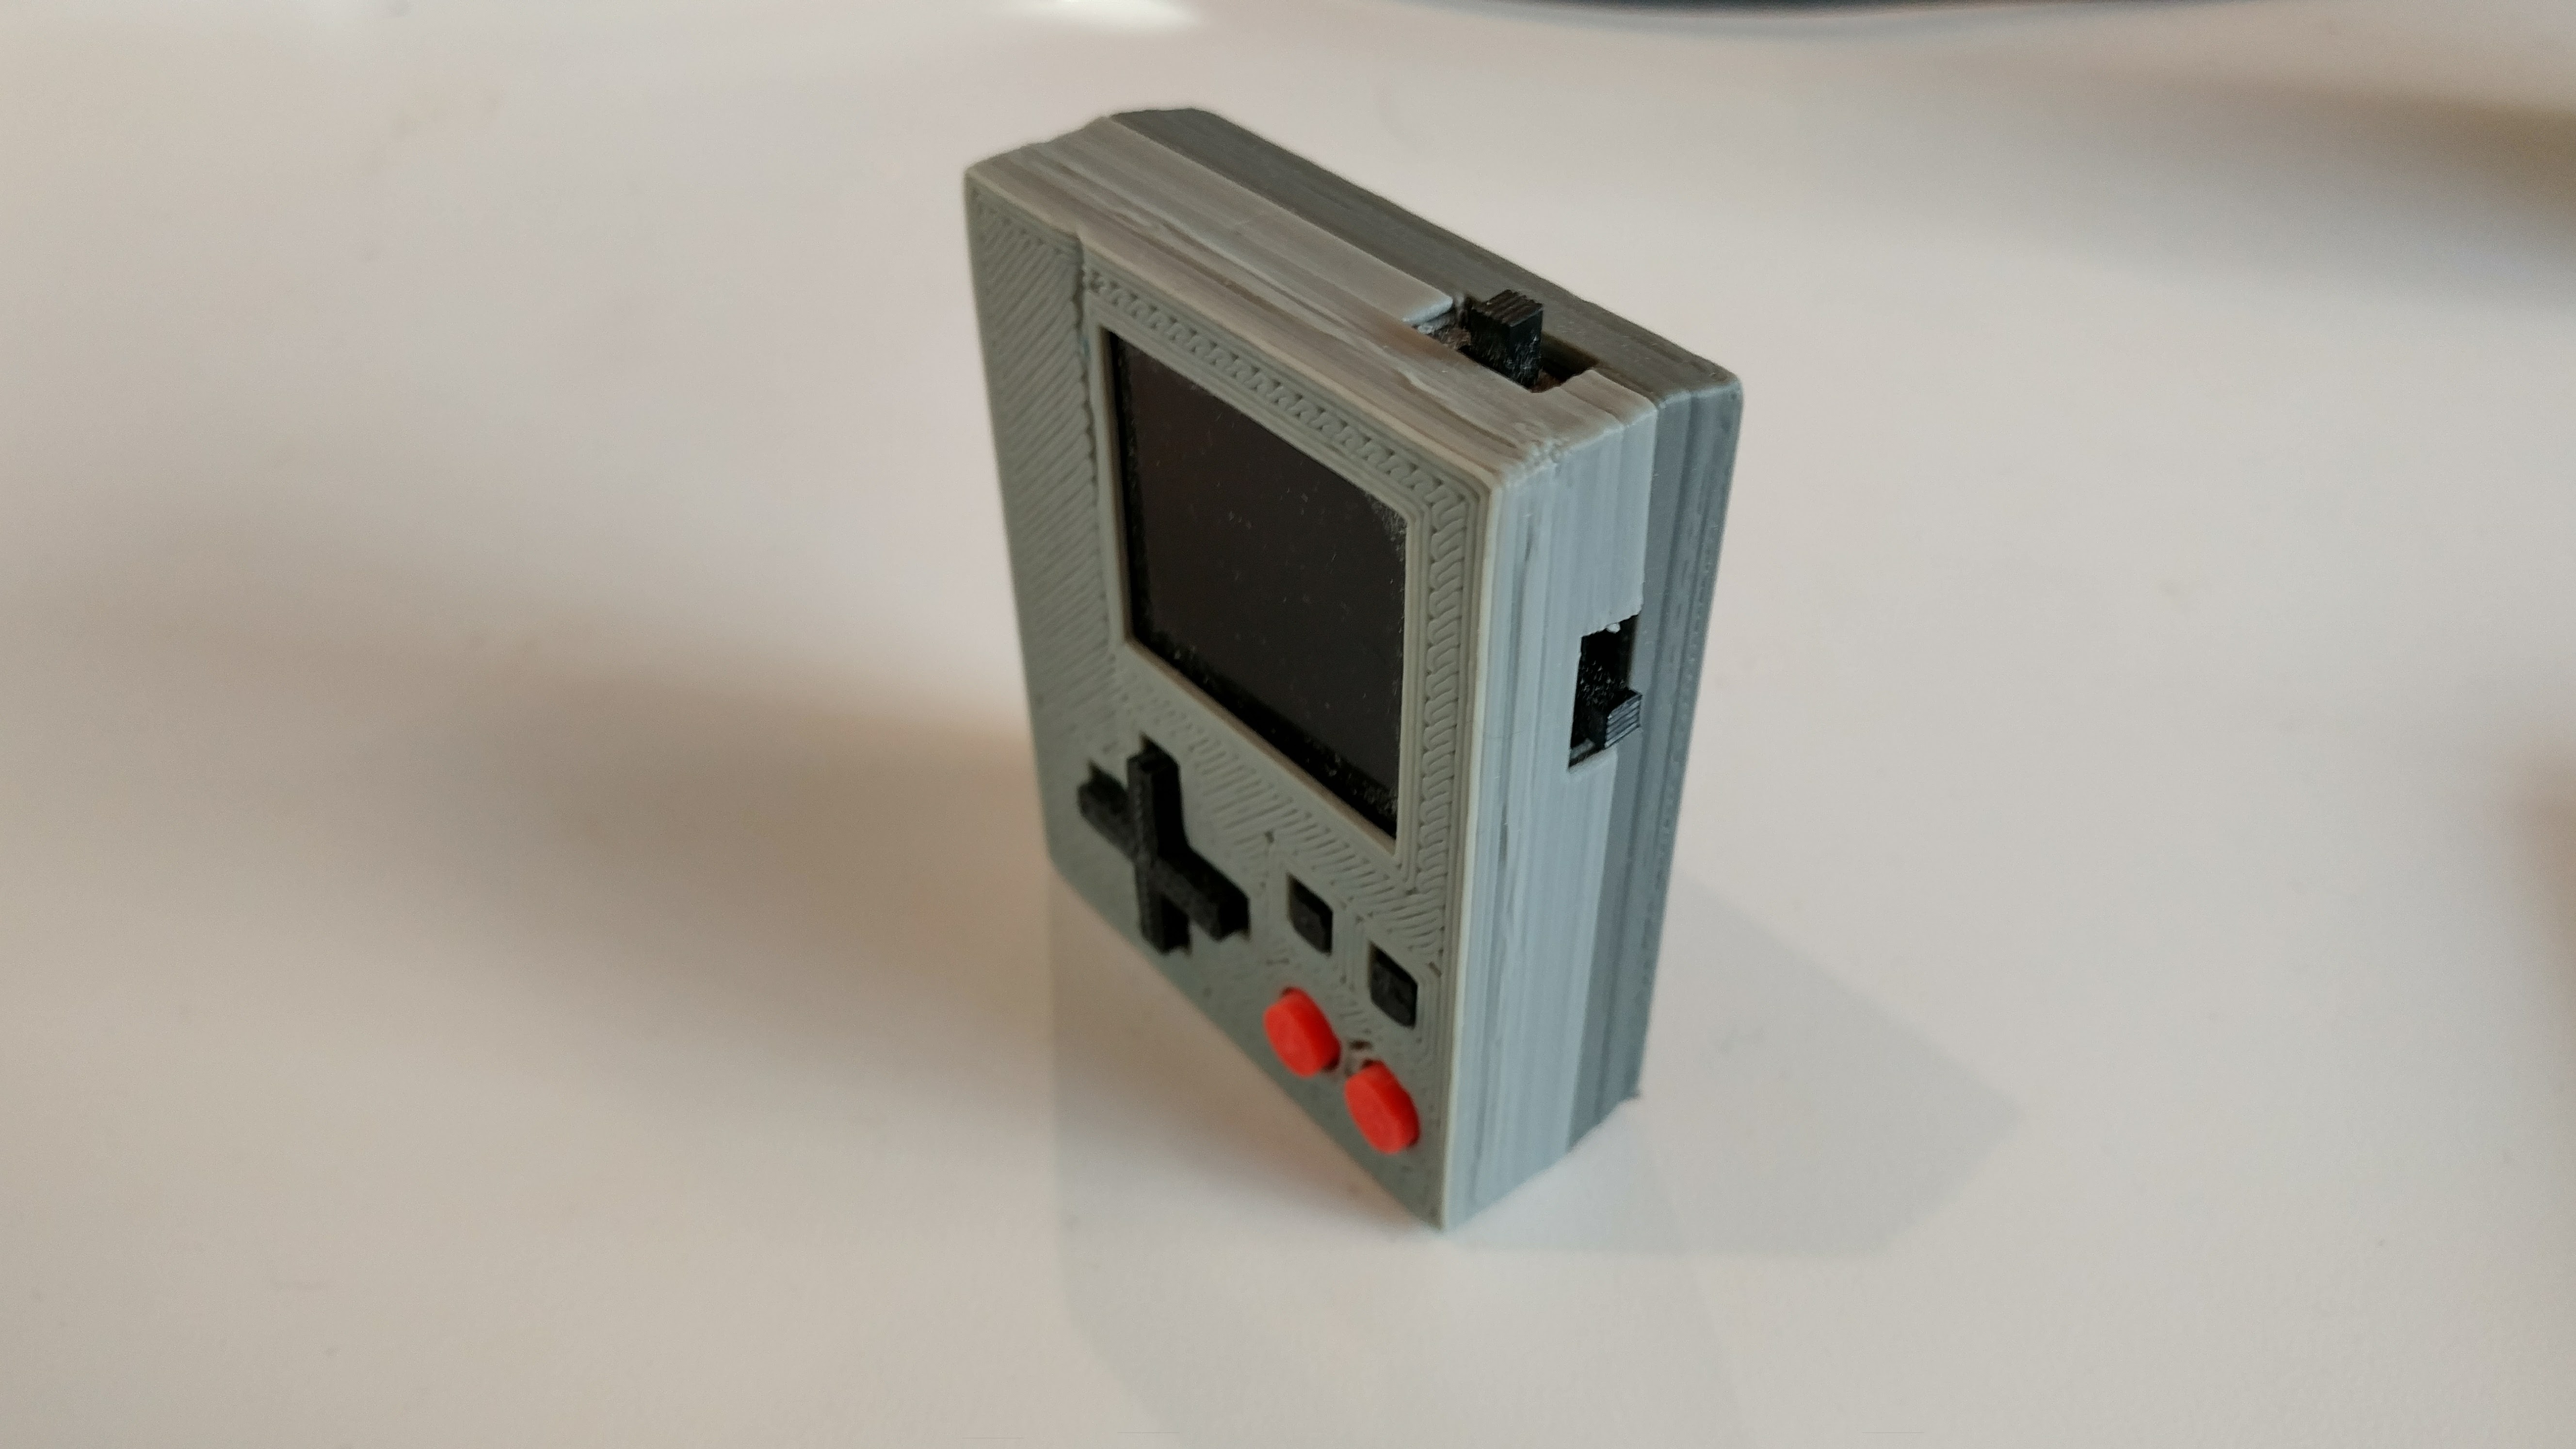
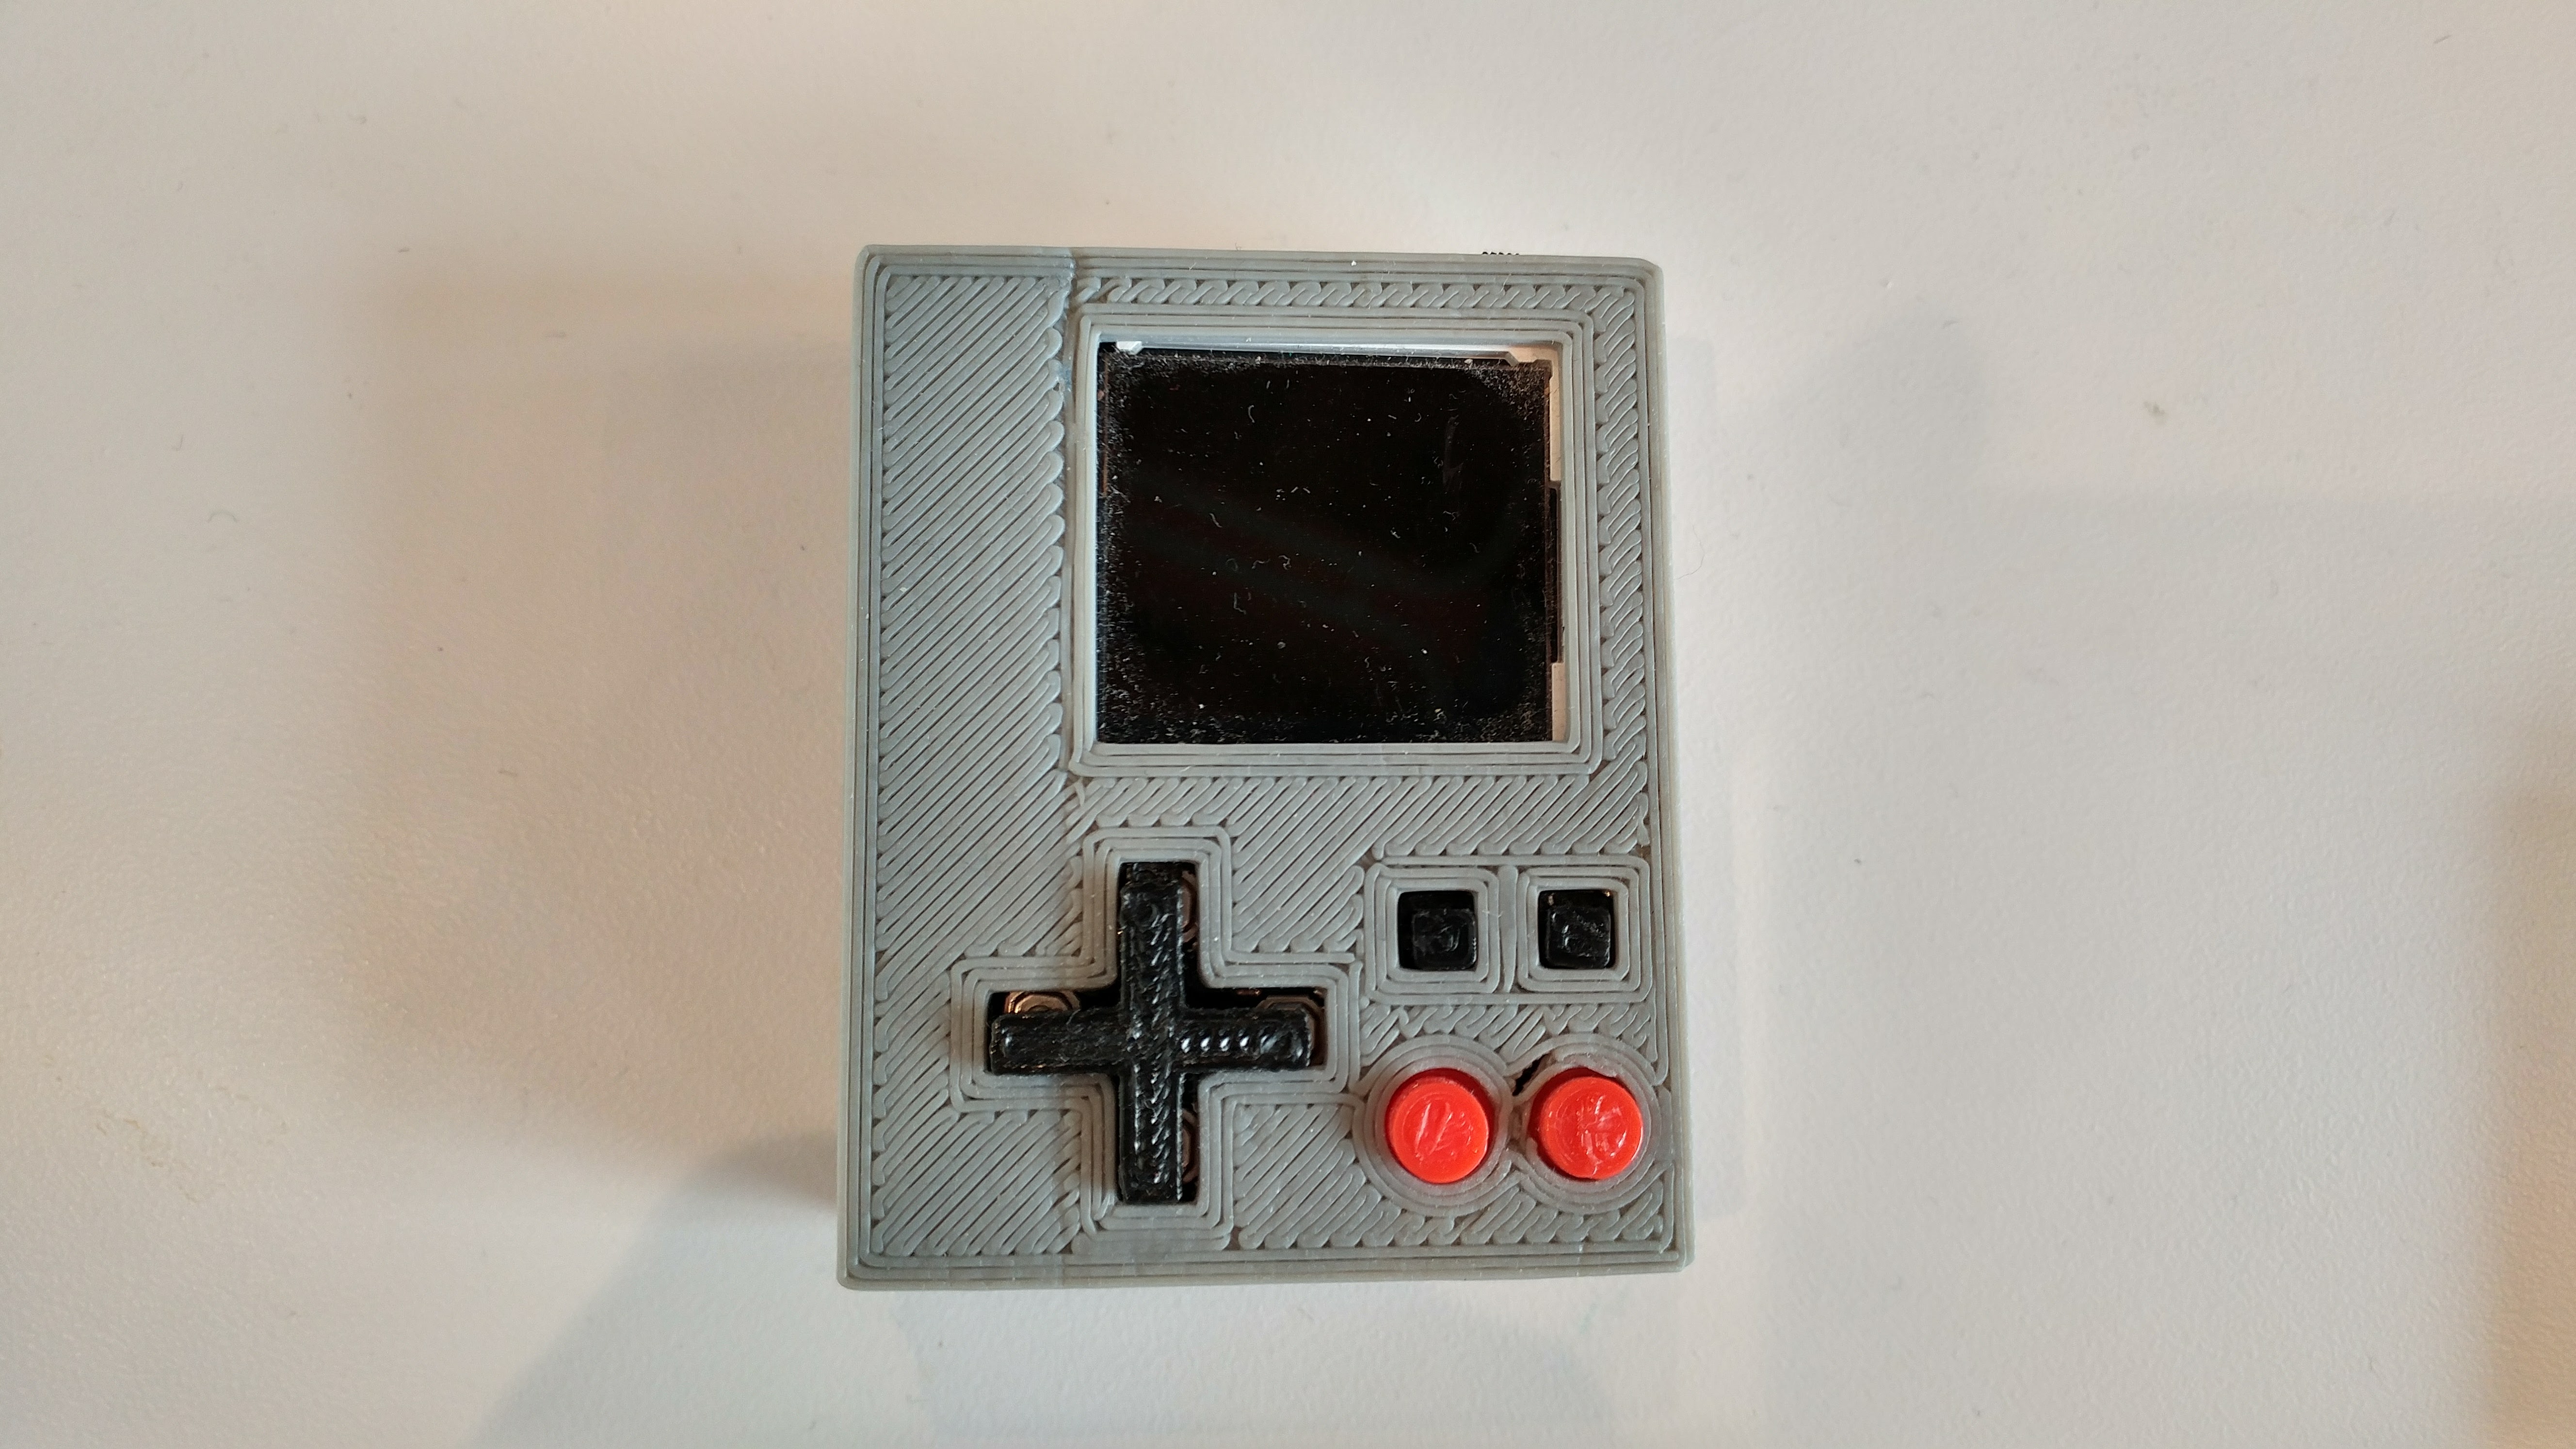
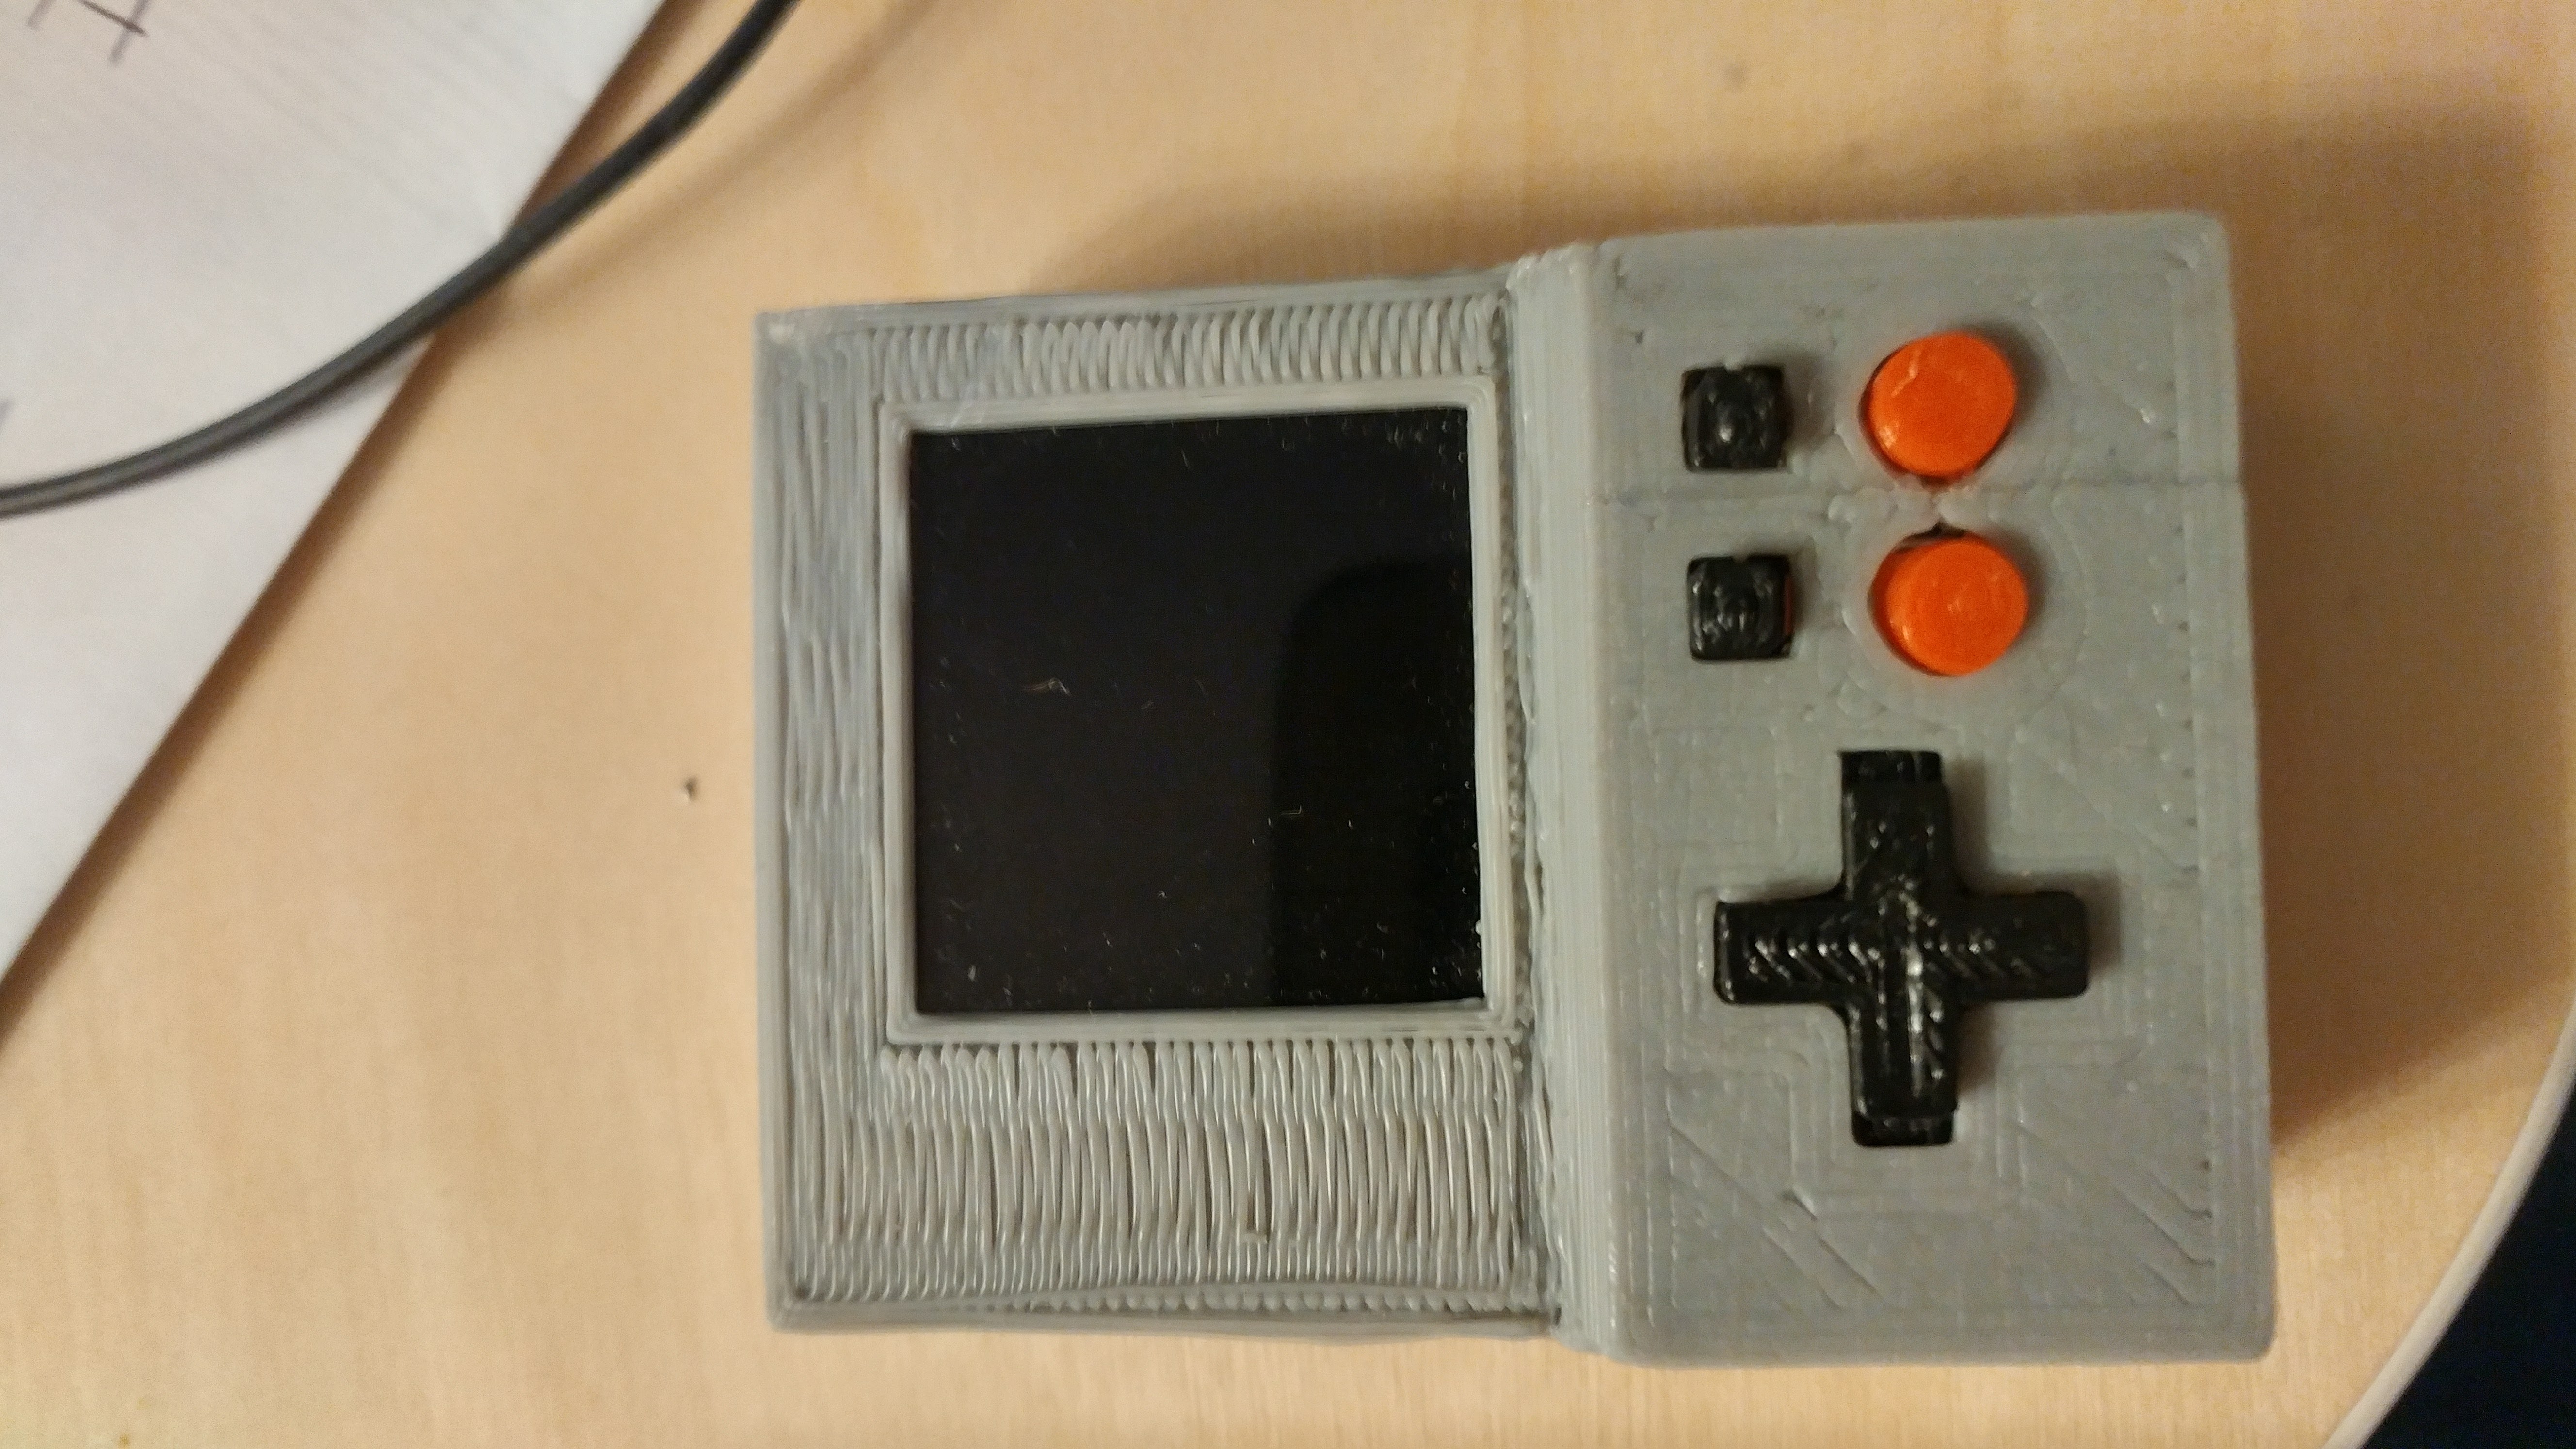
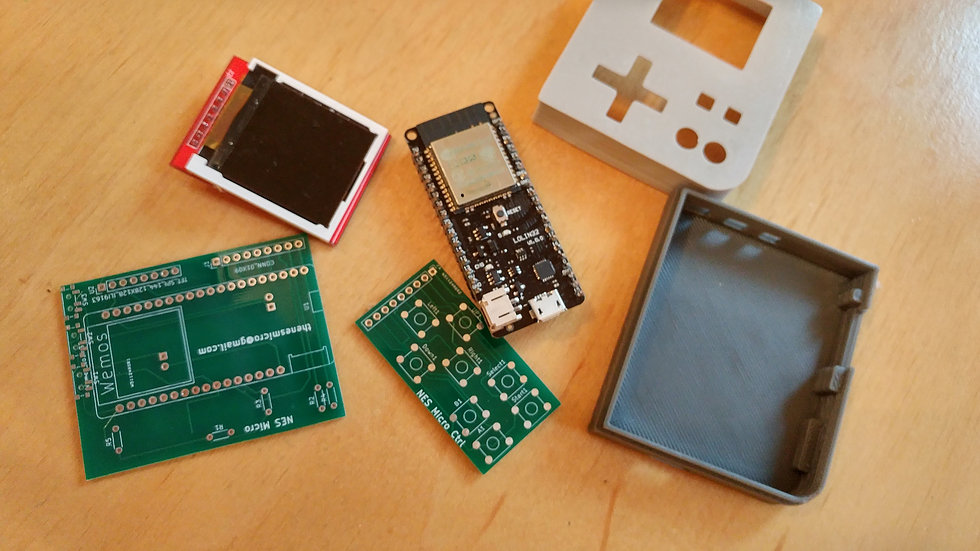
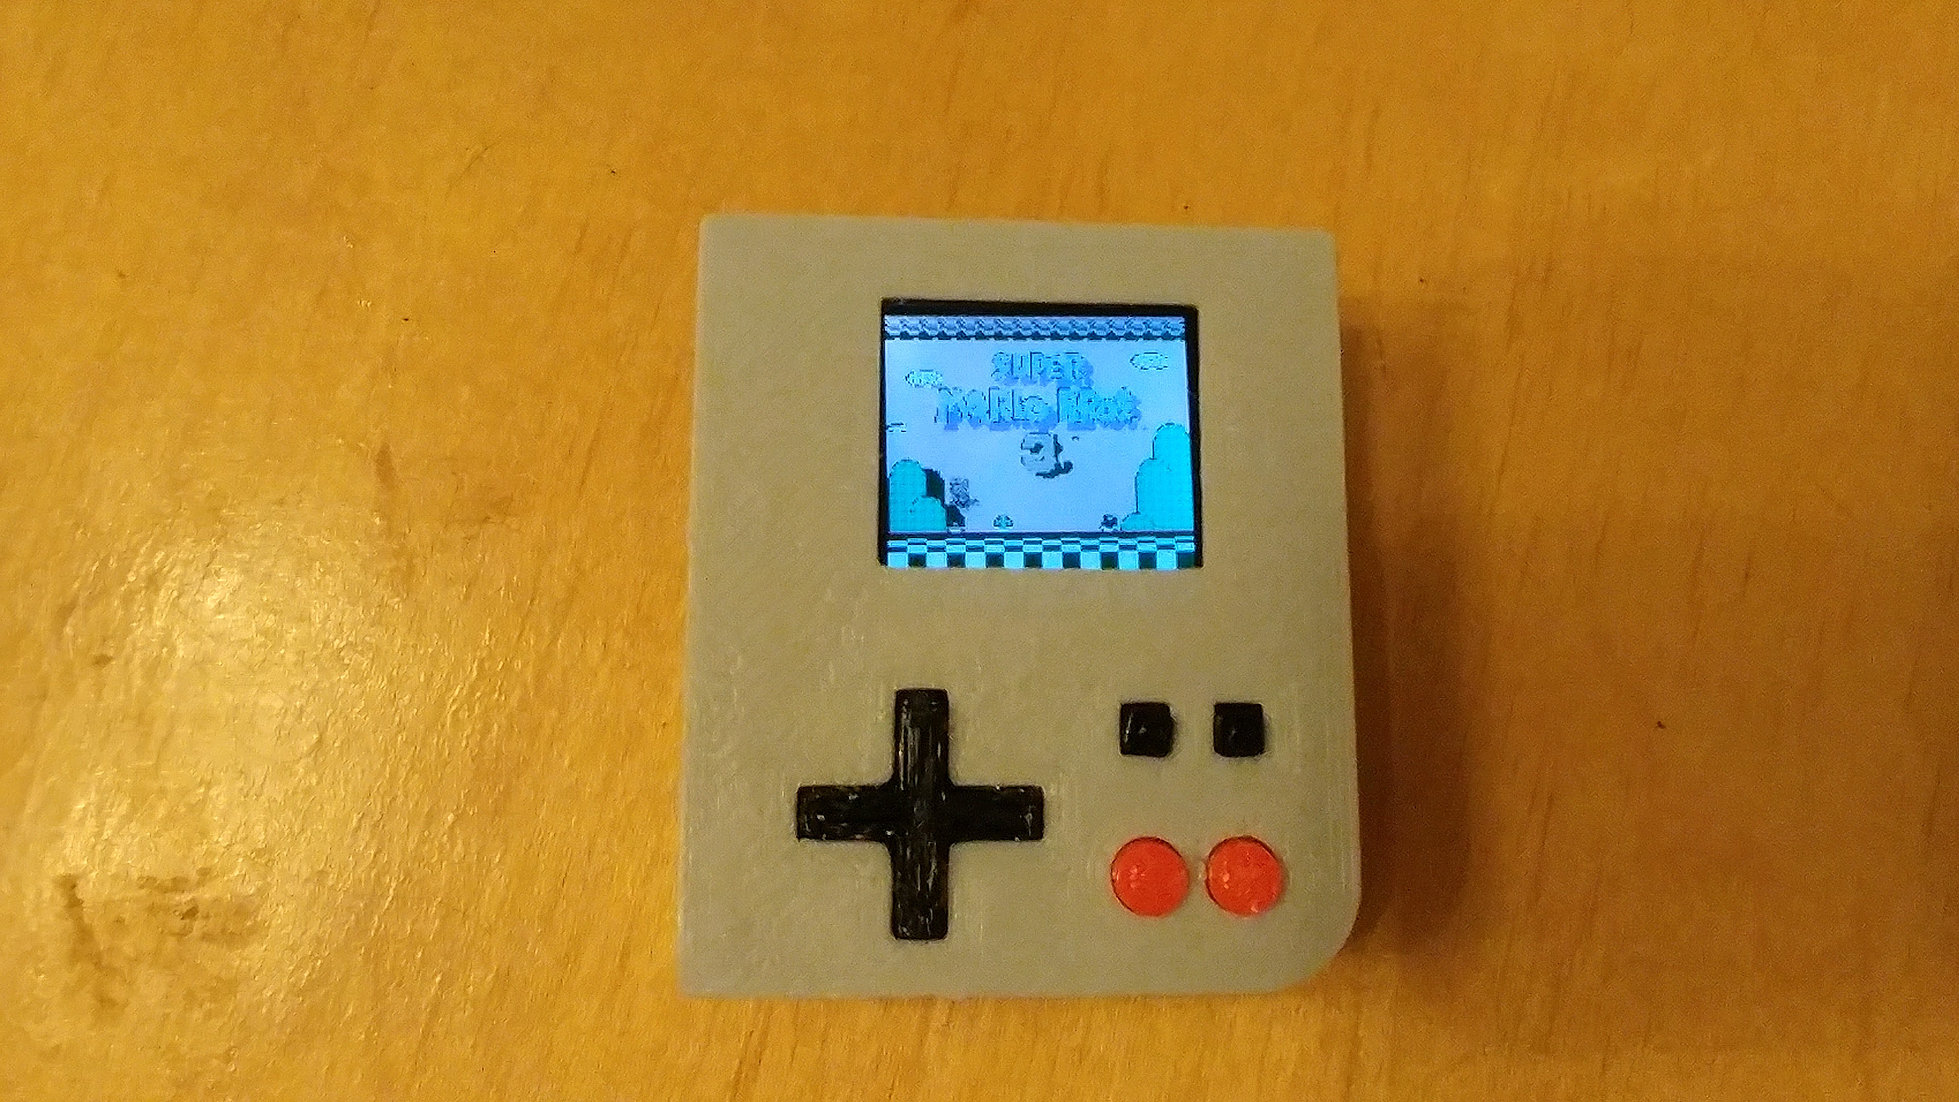
I designed a case for the device in sketchup and 3d printed it. Went with 2 tone colors that similar to the NES case itself. The case was pretty straight forward to do and didn't really cause much issue. Tho It ended up a little thicker than I wanted.
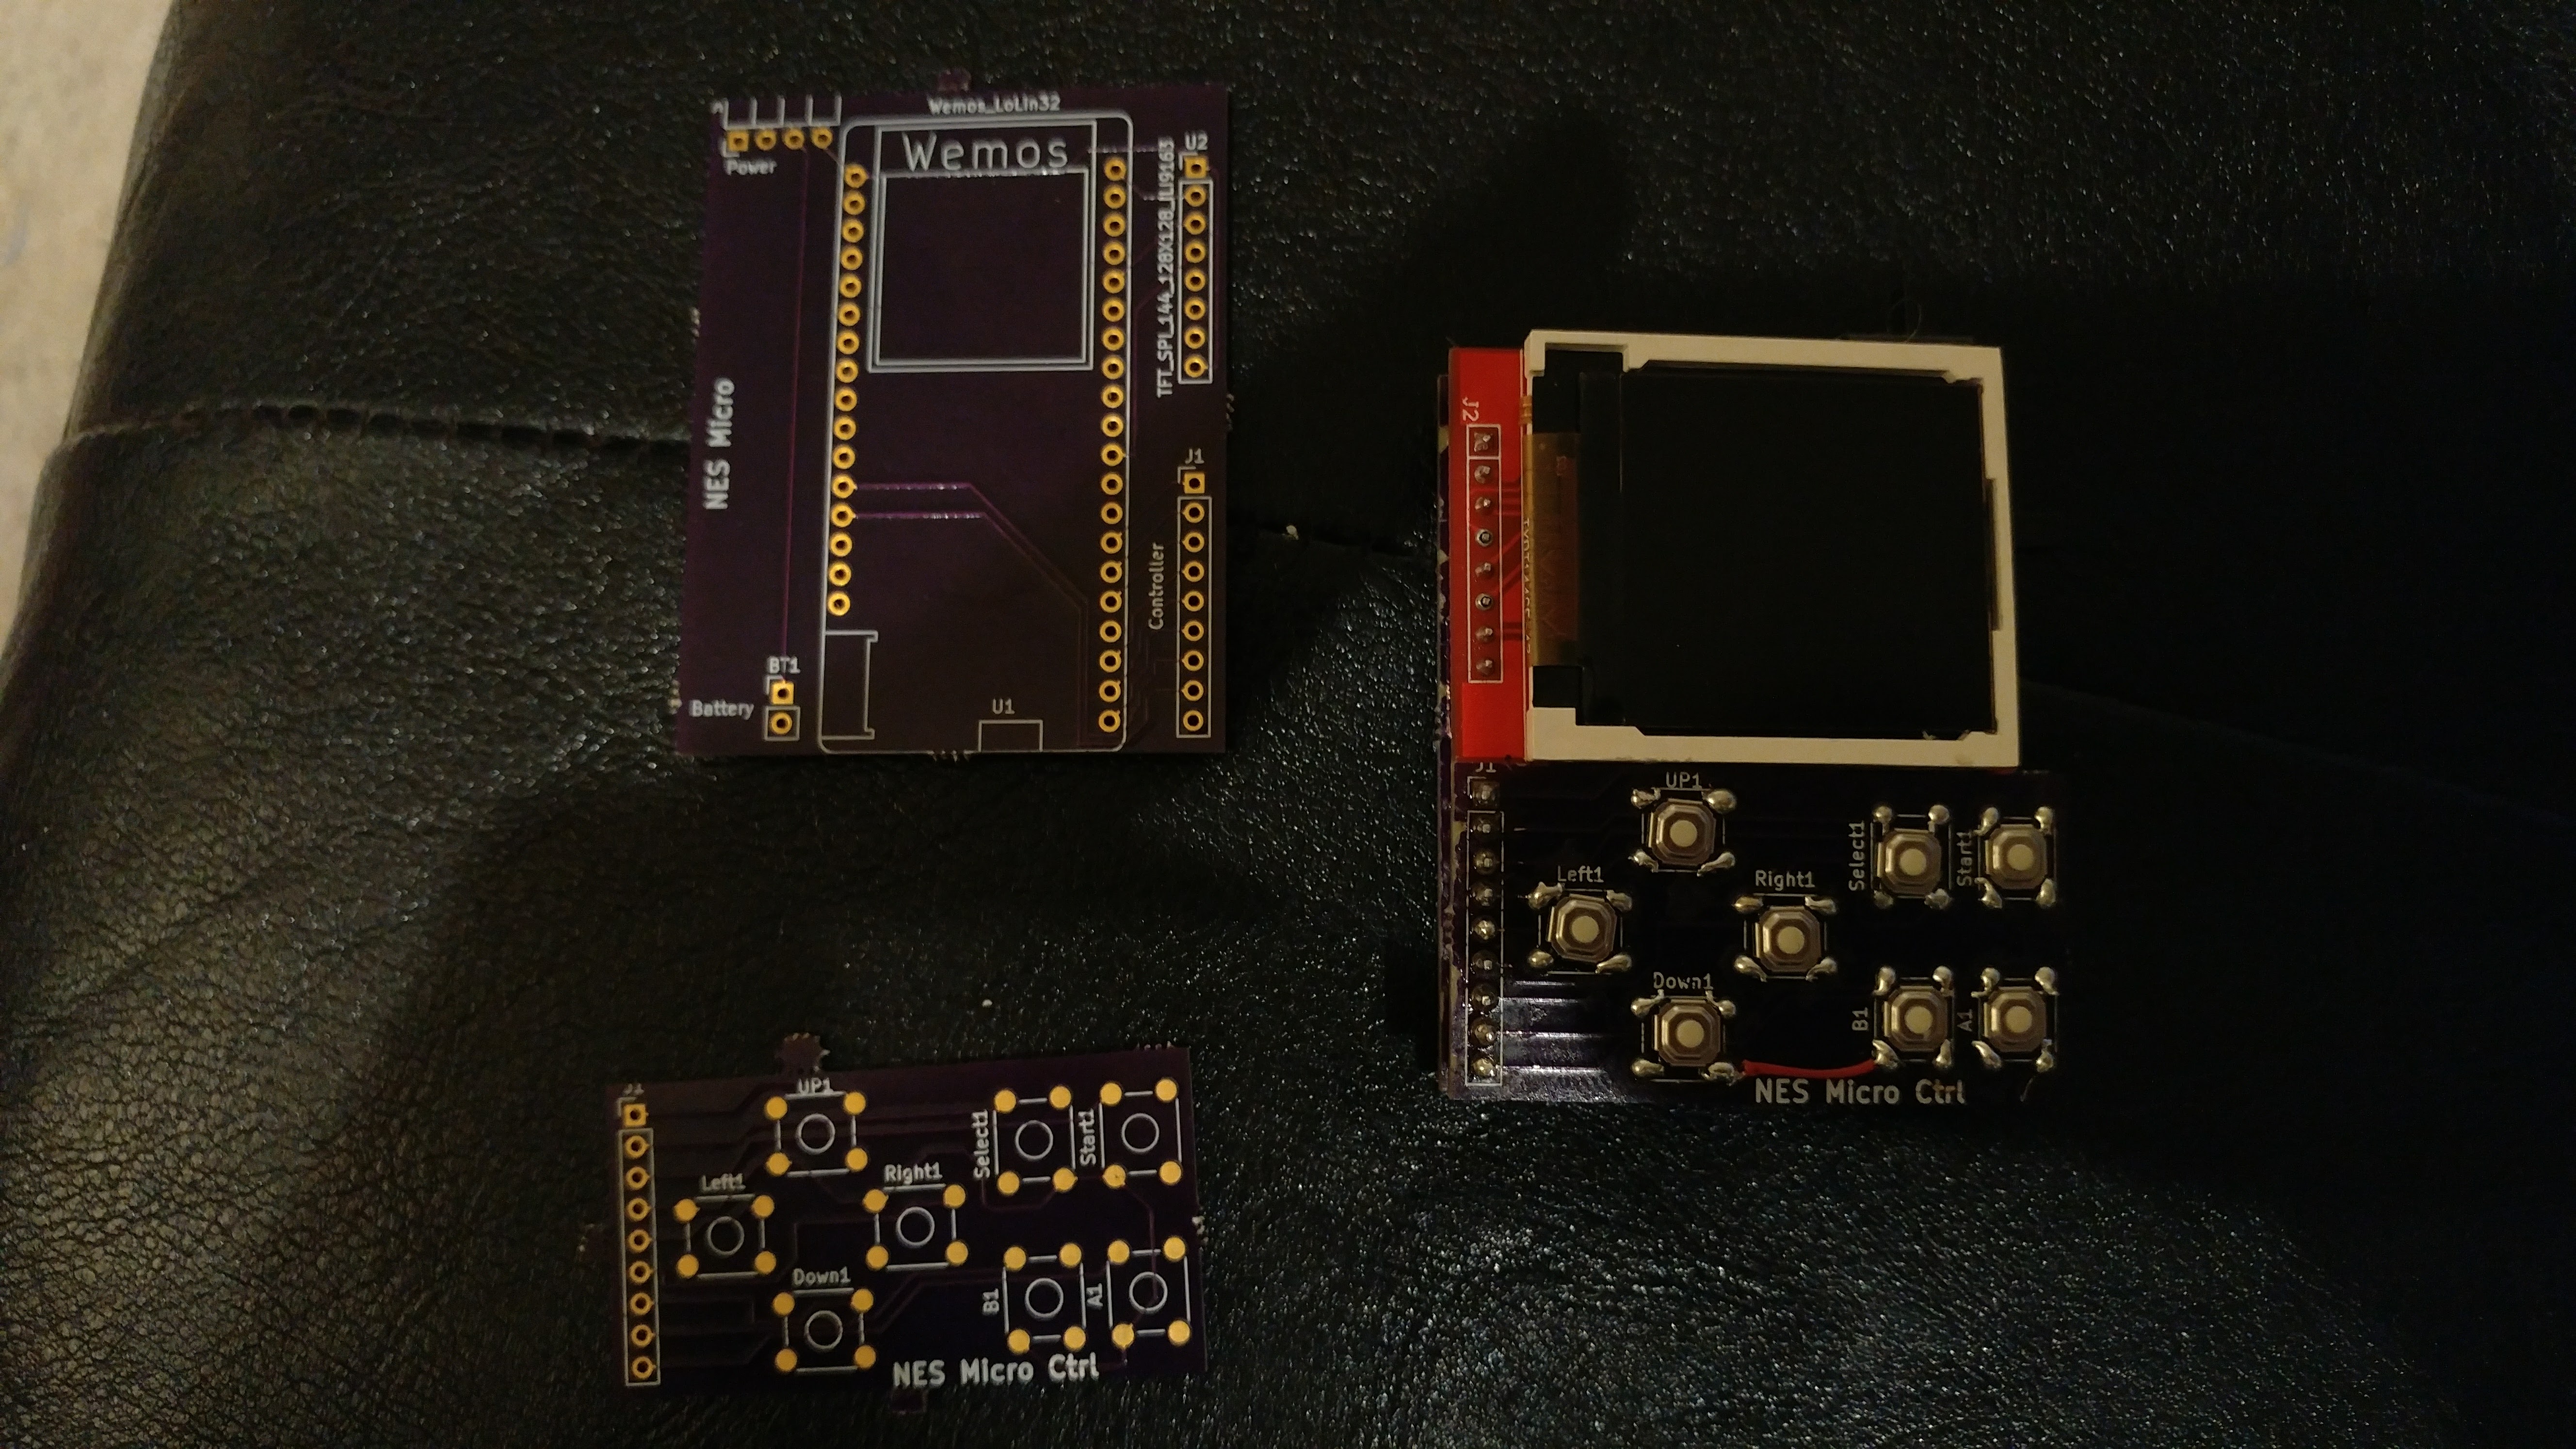
With the software all working and a working hand wired prototype, I wanted to develop a custom pcb to drive it. Using KICad I designed a custom pcb. This process went pretty well. I sent an initial draft to OSHPark for developing 3 of the boards. They ened up having one missing ground wire on one of the buttons. A simple mistake I must have overlooked. Not a big deal just ran a wire to fix it. But having a custom PCB with all the components soldered down without all the wires was a big plus. A second revision of the board was designed fixing my previous issues and sent to PCBWay. It was a little trickier to navigate what they wanted over OSHPark's simple upload the KICad file system. But in the end their service was great. These boards came back without any flaws on the design and worked pretty well. The only issues I had was surface mounting the WEMOS board to my pcb seemed to fail sometimes. Throwing solder onto through holes then soldering another set of through holes to that worked most of the time. But sometimes I think the solder would bridge under the board, or the top through hole would get damaged from pushing into it with the soldering iron to make the connection. I think in the future ill avoid this type of attachment. Out of the 8 I put together 3 of them seemed to have issues I believe stemmed from this.
Overall this was a great project. It was very fun to be able to make something like this. The NES holds dear in many people's minds, there is some great nostalgia here. It's fun to make something that is ultra portable and playable and brings back those memories. I ended up calculating they would get about 6hrs battery life. And with the instant on and to the game. These are perfect for gaming on the go or when waiting for the bus. Unlike other raspberry pi bases systems I've played with that take a few minutes to boot up.
If anyone is interested in one feel free to contact me. I have plenty of parts to make some more. And I have other related projects in the works.